
What a wonderful set this is for any sort of celebration. It could be a card for an engagement, wedding, birthday or just an invitation to an event.
It's the very simple Two Step stamping technique that is used here. You simply stamp the outline stamp and then stamp the solid ornament stamp within the outline. I find it easier to just 'eyeball' the placement of the second stamp with the clear stamps. You could use a stamp-a- ma- jig if you wanted to be very precise but I like the more informal look of 'eyeballing'.
I have made a short video here to demonstrate the technique
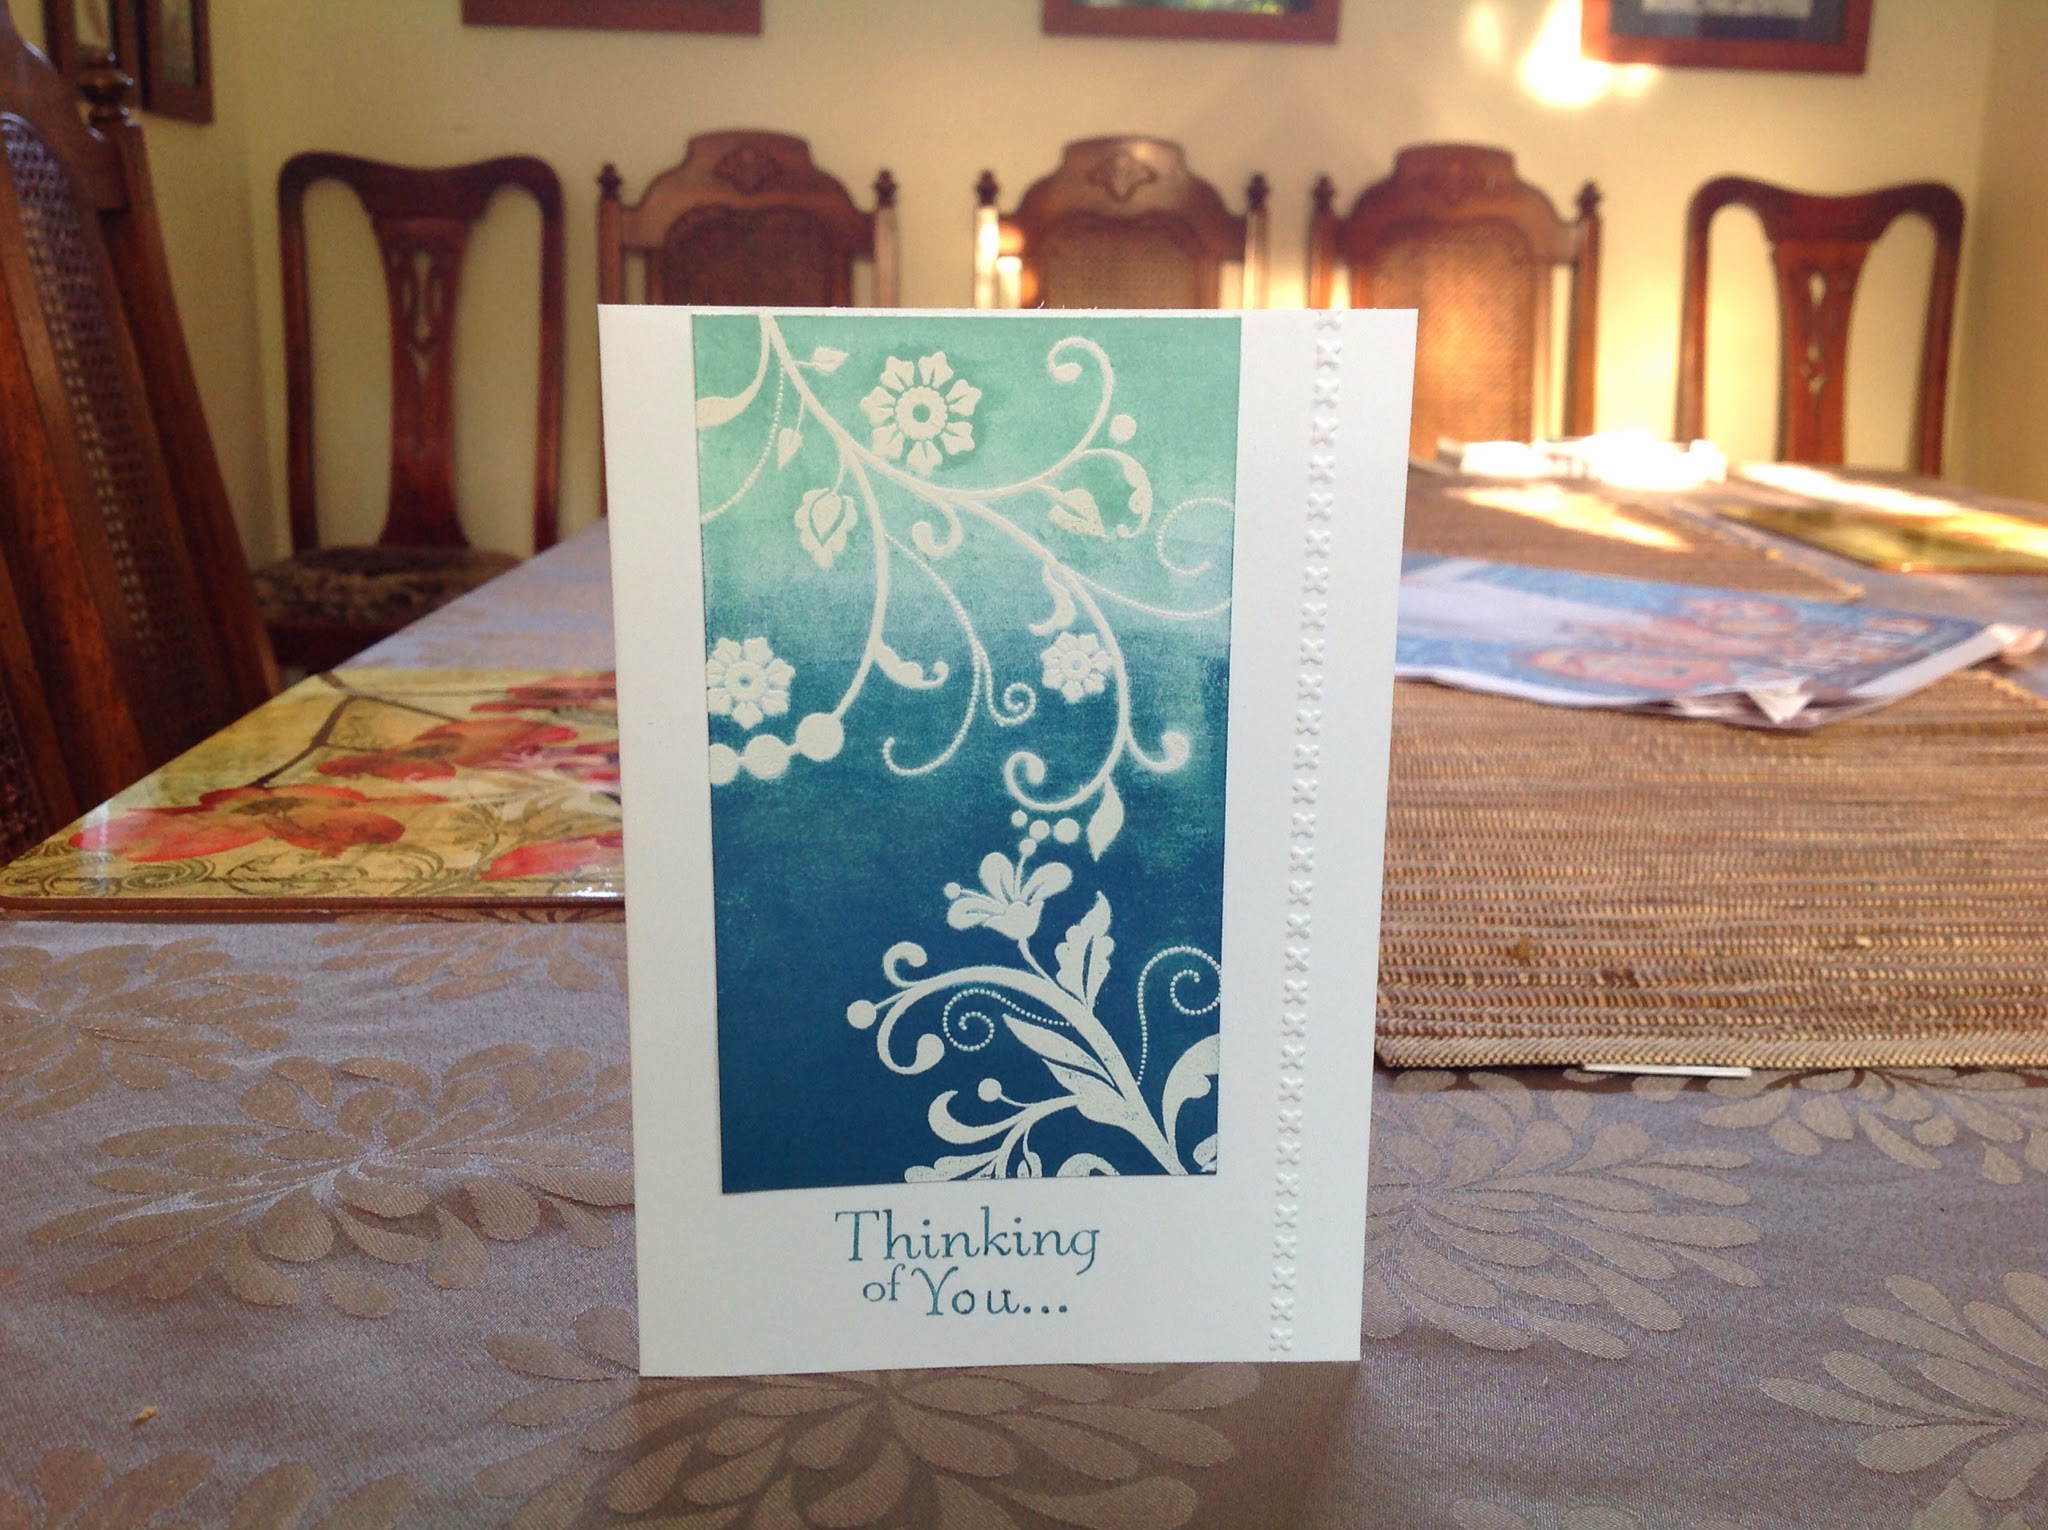
How nice is the Night of Navy and Real Red combination!

This one took a bit longer as I embossed the design in gold. I did it in stages- first the outline and then the ornaments and then the sentiment. I used the embossing buddy before each stage. I matted it with Stampin Up metallic gold card and the card itself was Very Vanilla
F
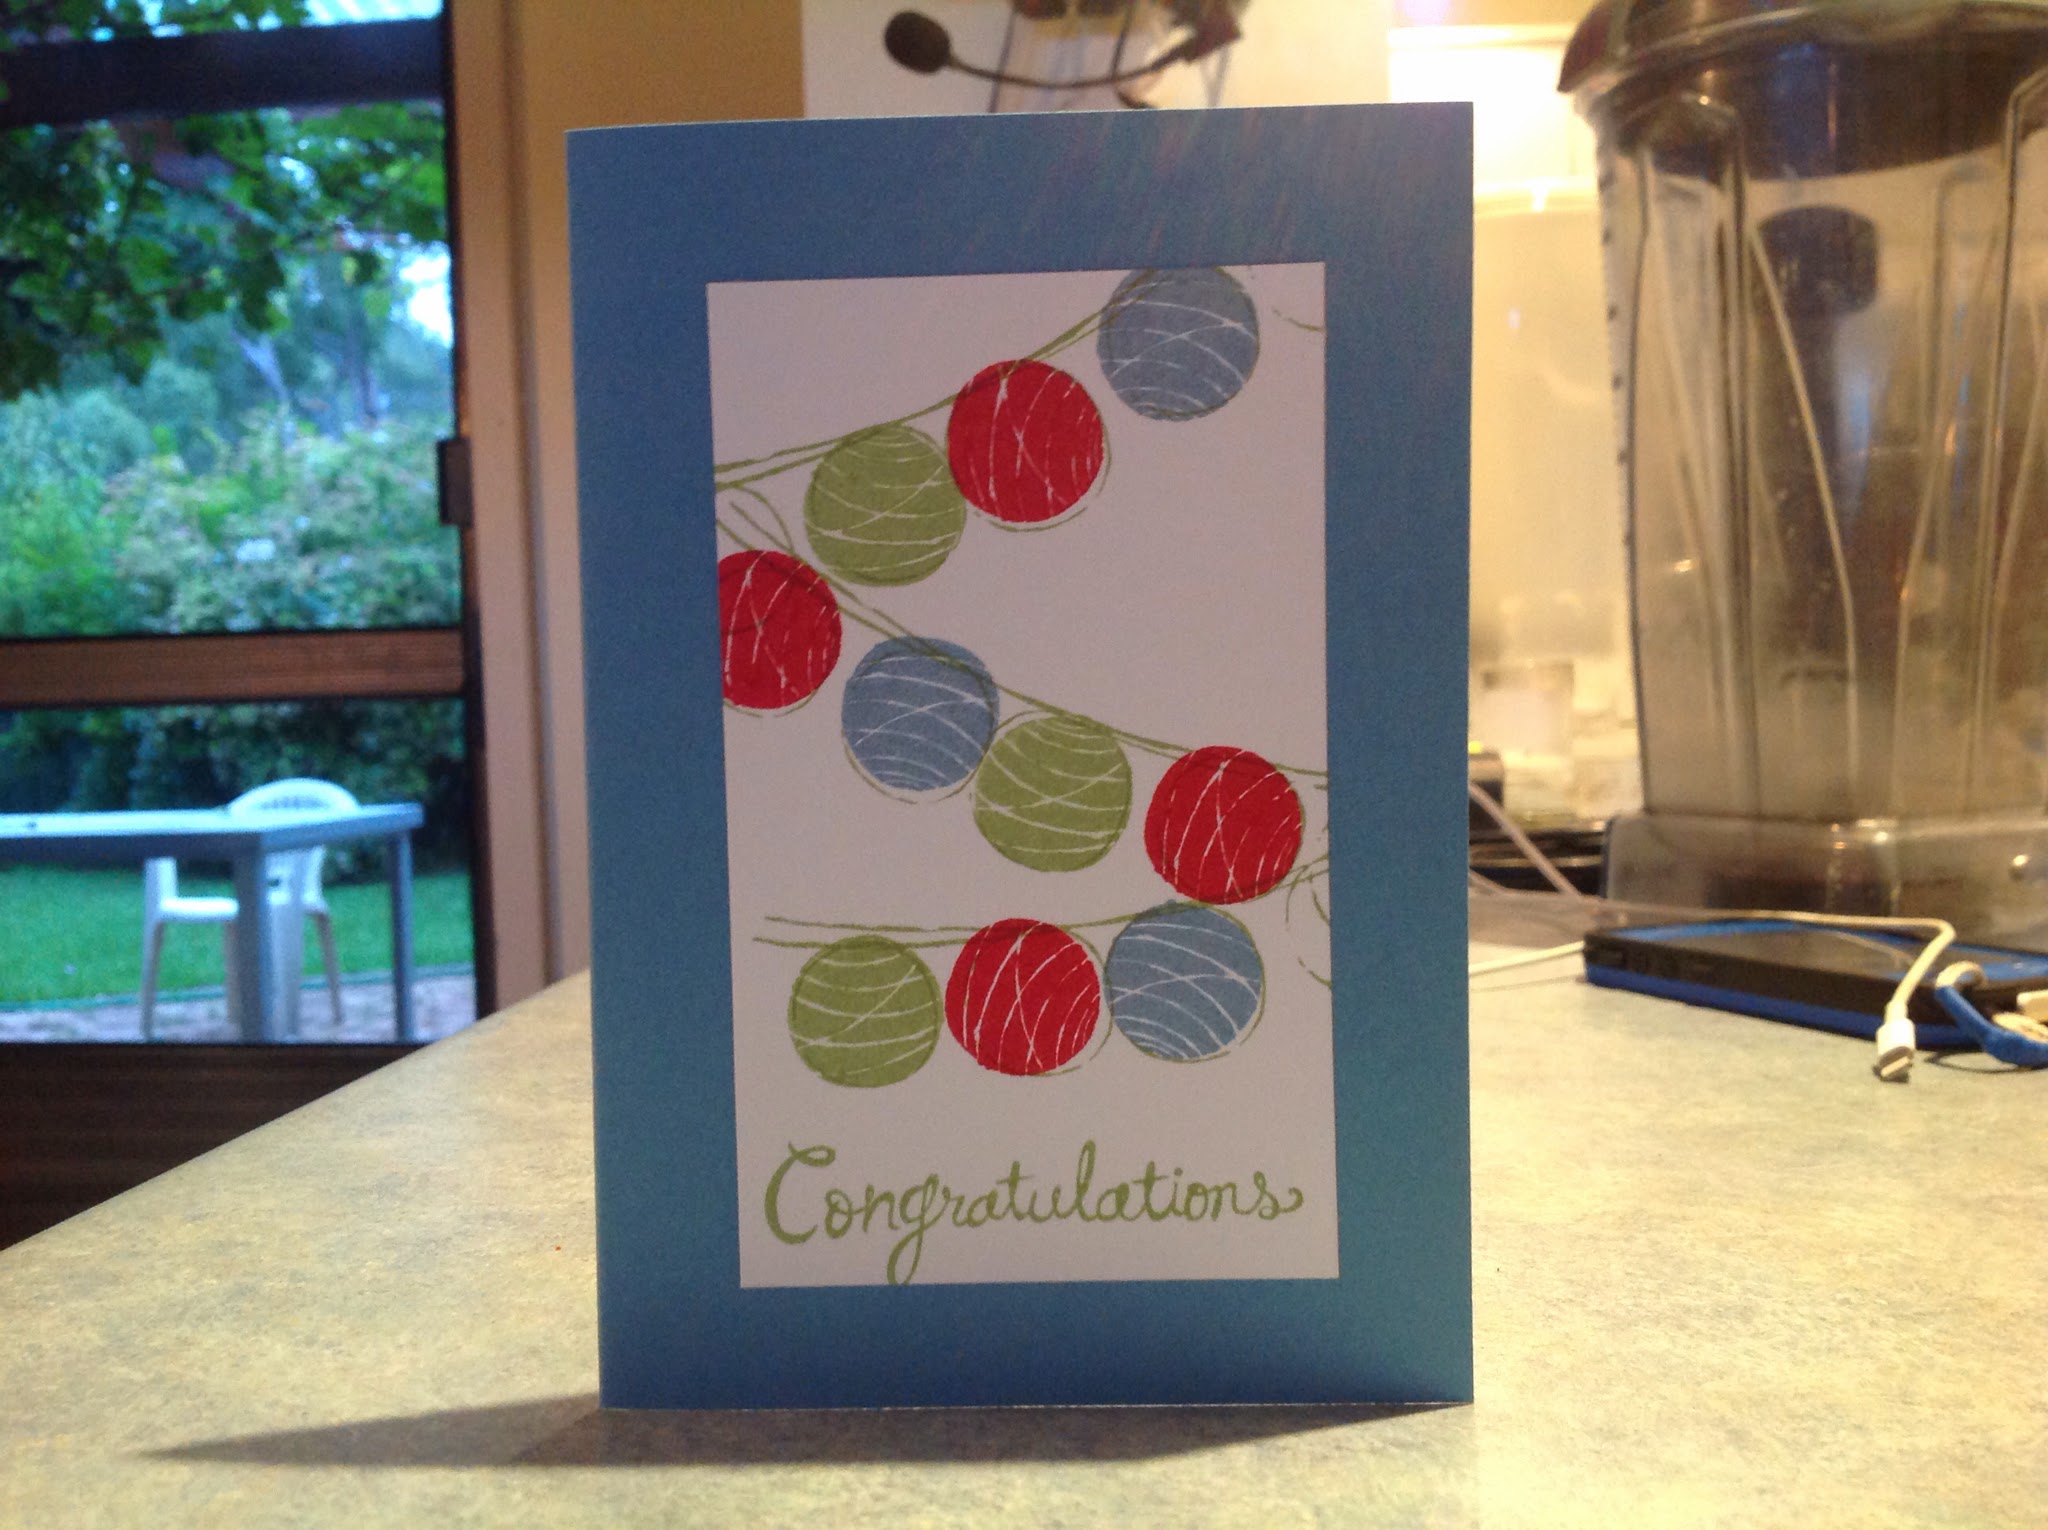

This time Elegant Eggplant and Bermuda Bay and Crushed Curry. Isn't the Congratulations stamp a nice stamp?

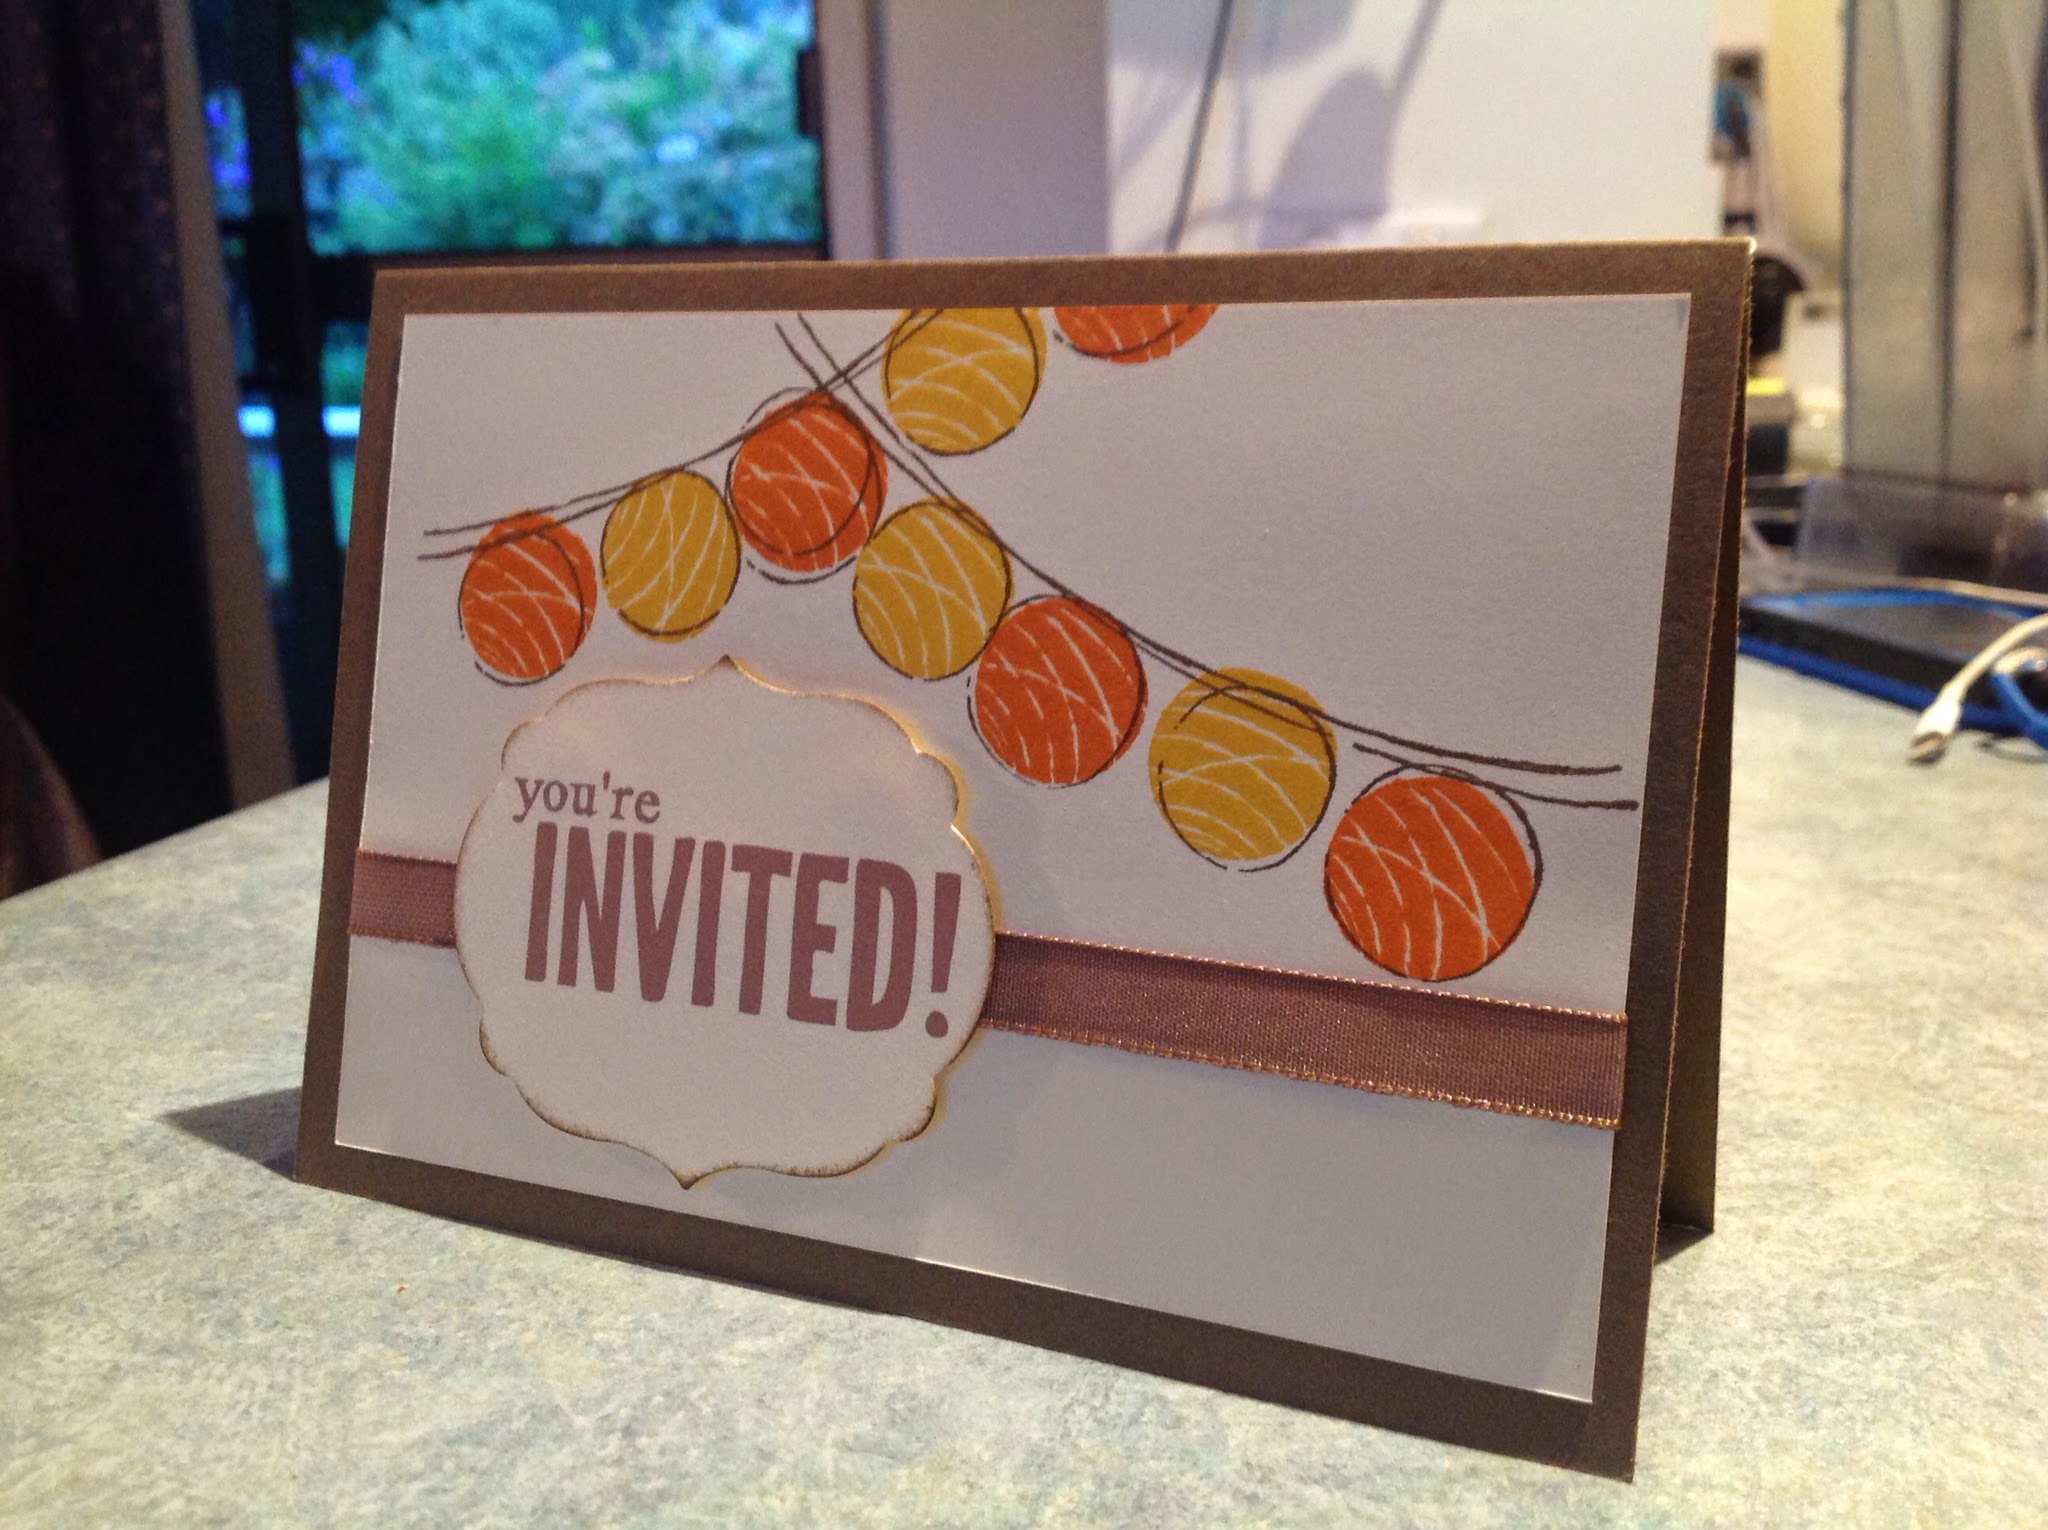
Crushed Curry and Pumpkin Pie. The sentiment is printed from MDS.

What a simple design for an invitation. Real Red and Island Indigo here.

I love the colour combinations of Gumball Green, Island Indigo, Rich Razzleberry, Crushed Curry.
Well that's all I am going to do using this set! At least for now. Happy stamping.