

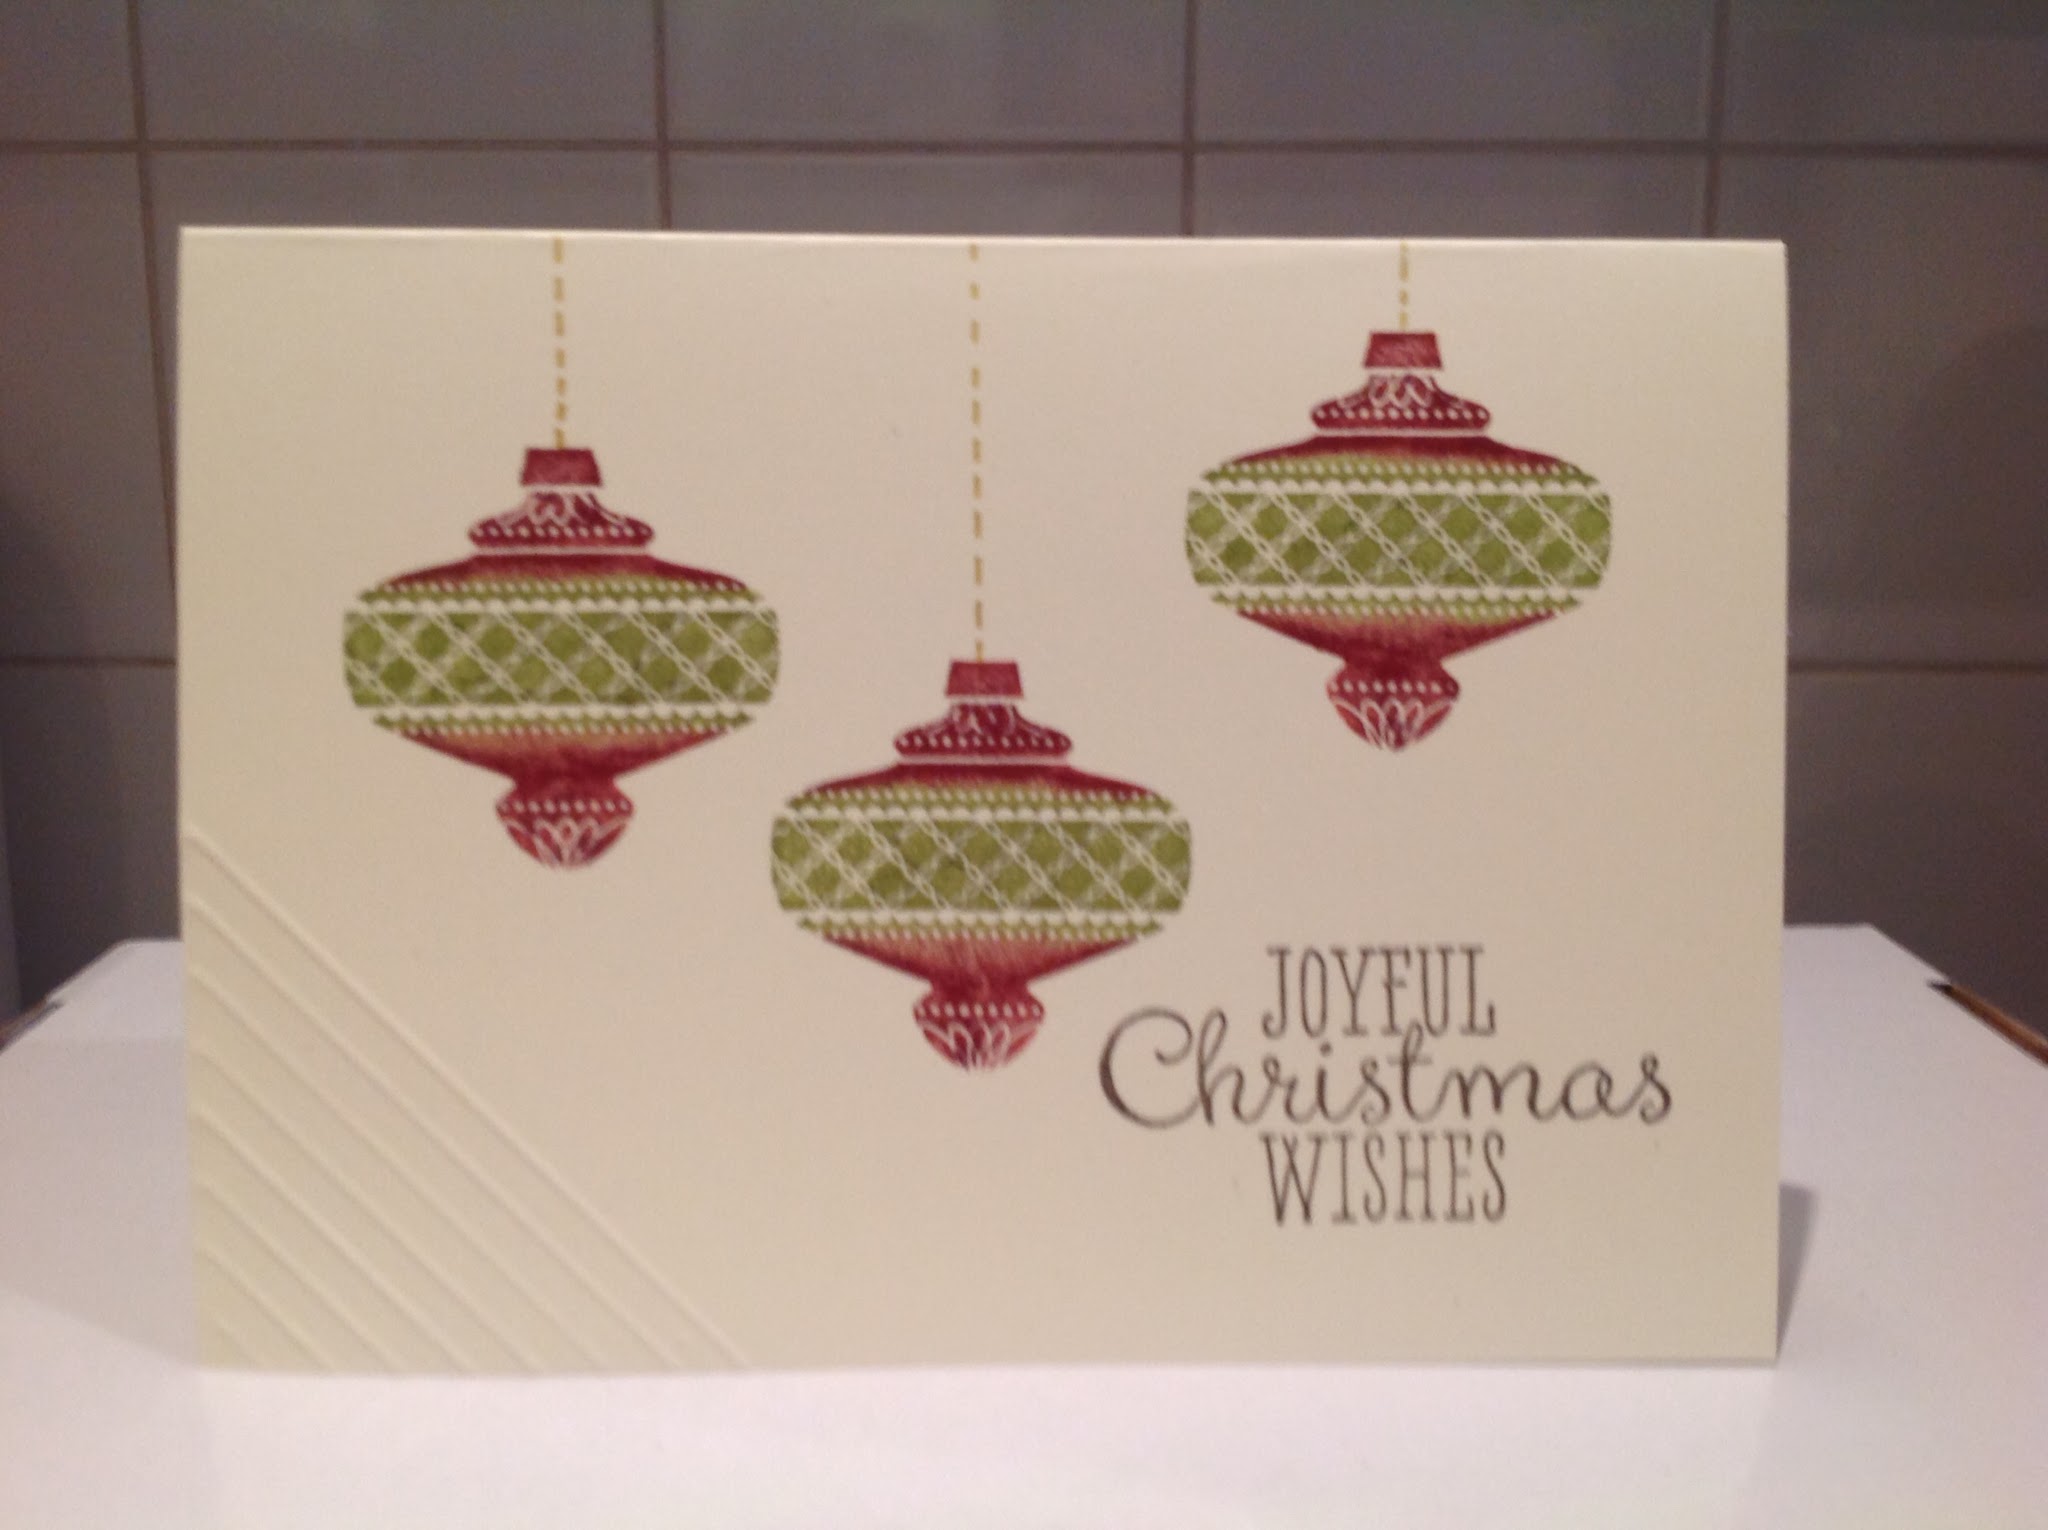
I inked up about 8 ornaments at the same time with a Cherry Cobbler and a Old Olive marker using the same technique as above. I couldn't stop as I kept thinking just one more....I made sure the line between the 2 colours wasn't too exact so the 2 colours merged a little which gave it a slight watercolour effect. I mounted this on a soft suede mat which had been embossed with the Square Lattice embossing folder. I tied a piece of Cherry Cobbler seam binding around it using just a flat knot. I read somewhere that if you are intending to post a card to make sure it will fit through the gap in the Stampin' Up Paper Trimmer because if it is thicker than this it may get chewed up in the mail. Now I wonder if half my previous 3 years of Christmas cards never reached their destinations as mine were often thicker than that!

This was cased from one of my favourite Stampin' Up ladies - Mary Fish. Have a look at her blog at stampinpretty.com
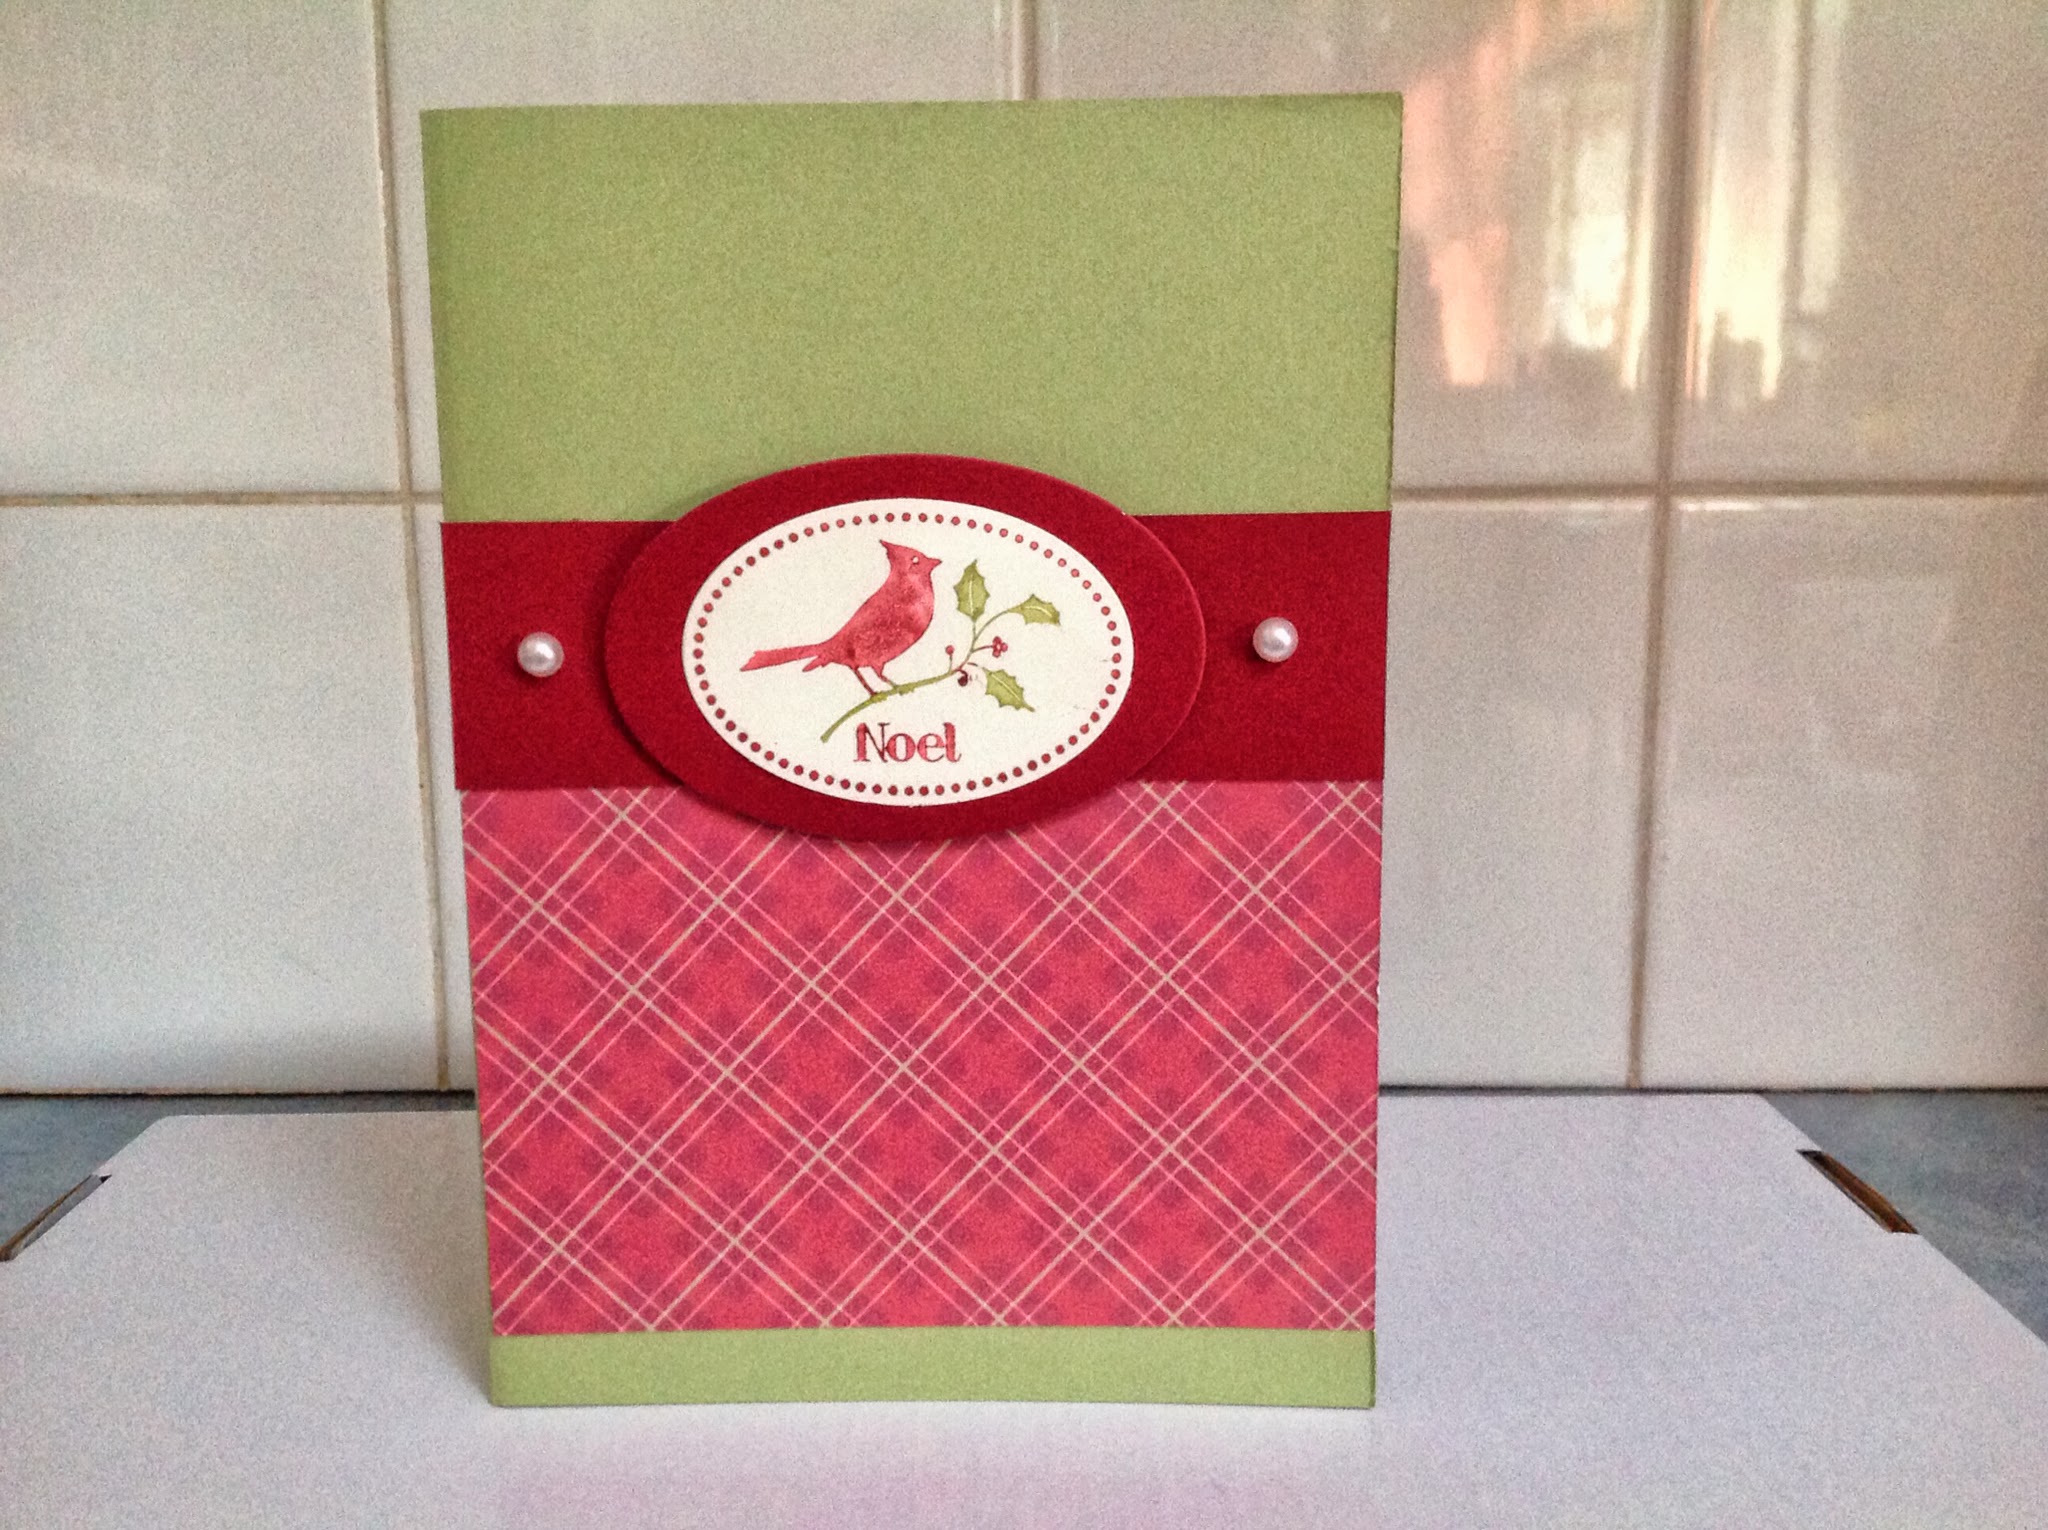
I used the ornaments described above. I cut the card base using the Stampin' Up Circles collection framelit scalloped die. Fold a piece of card stock in half and then place the die off the fold so one edge doesn't cut through and this is the 'hinge' of the card. Next cut a white circle to fit inside the card with enough to show a border.
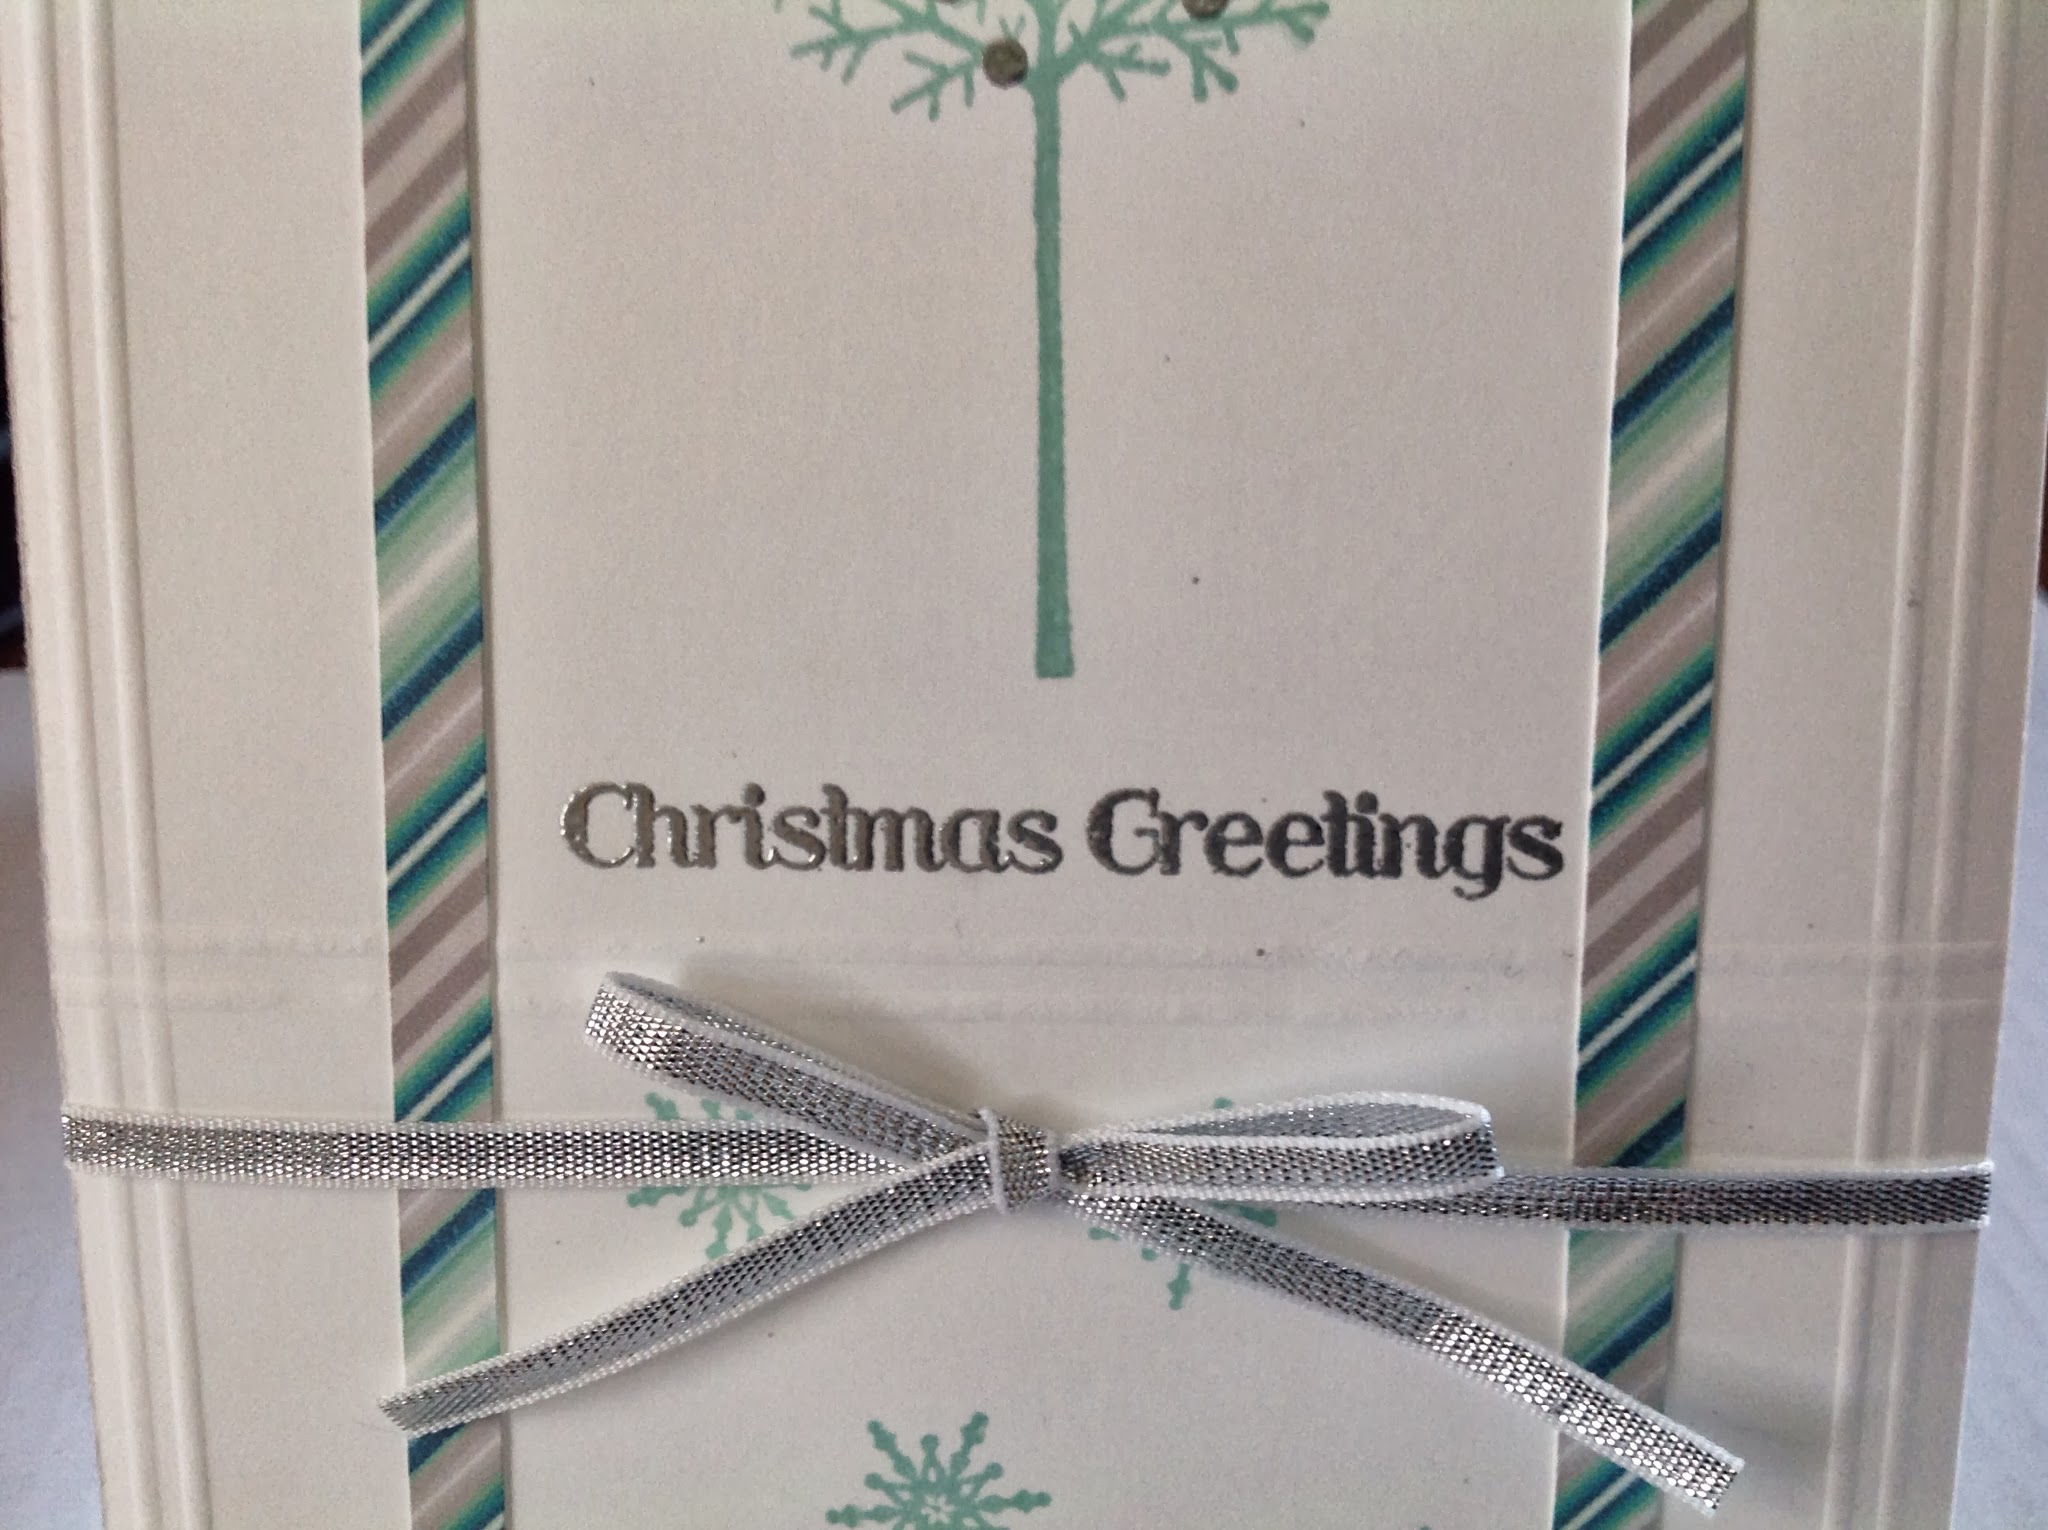
I stamped the sentiment again using Joyful Christmas and used the new silver ribbon as the string and bow.
Next step is to make a non standard envelope with the new Envelope punch. Looking forward to playing with this new tool. I have been trying to discipline myself to use all the other things first!


In this one I used the Winter Frost DSP again but it looked a little too bare so I added a strip of white cardstock at the top which I had embossed with one of the folders in the Needlpoint Border embossing folder set. Just loving the new Smokey Slate cardstock. It is such a subtle, elegant colour.
If I can help anyone with Stampin' Up products hop over to the online shop on the top of the blog or drop me an email. Hope you are getting the chance to be creative!