Yes? Then Stampin' Up's new stamp set, Baby We've Grown will be a useful addition to your collection.
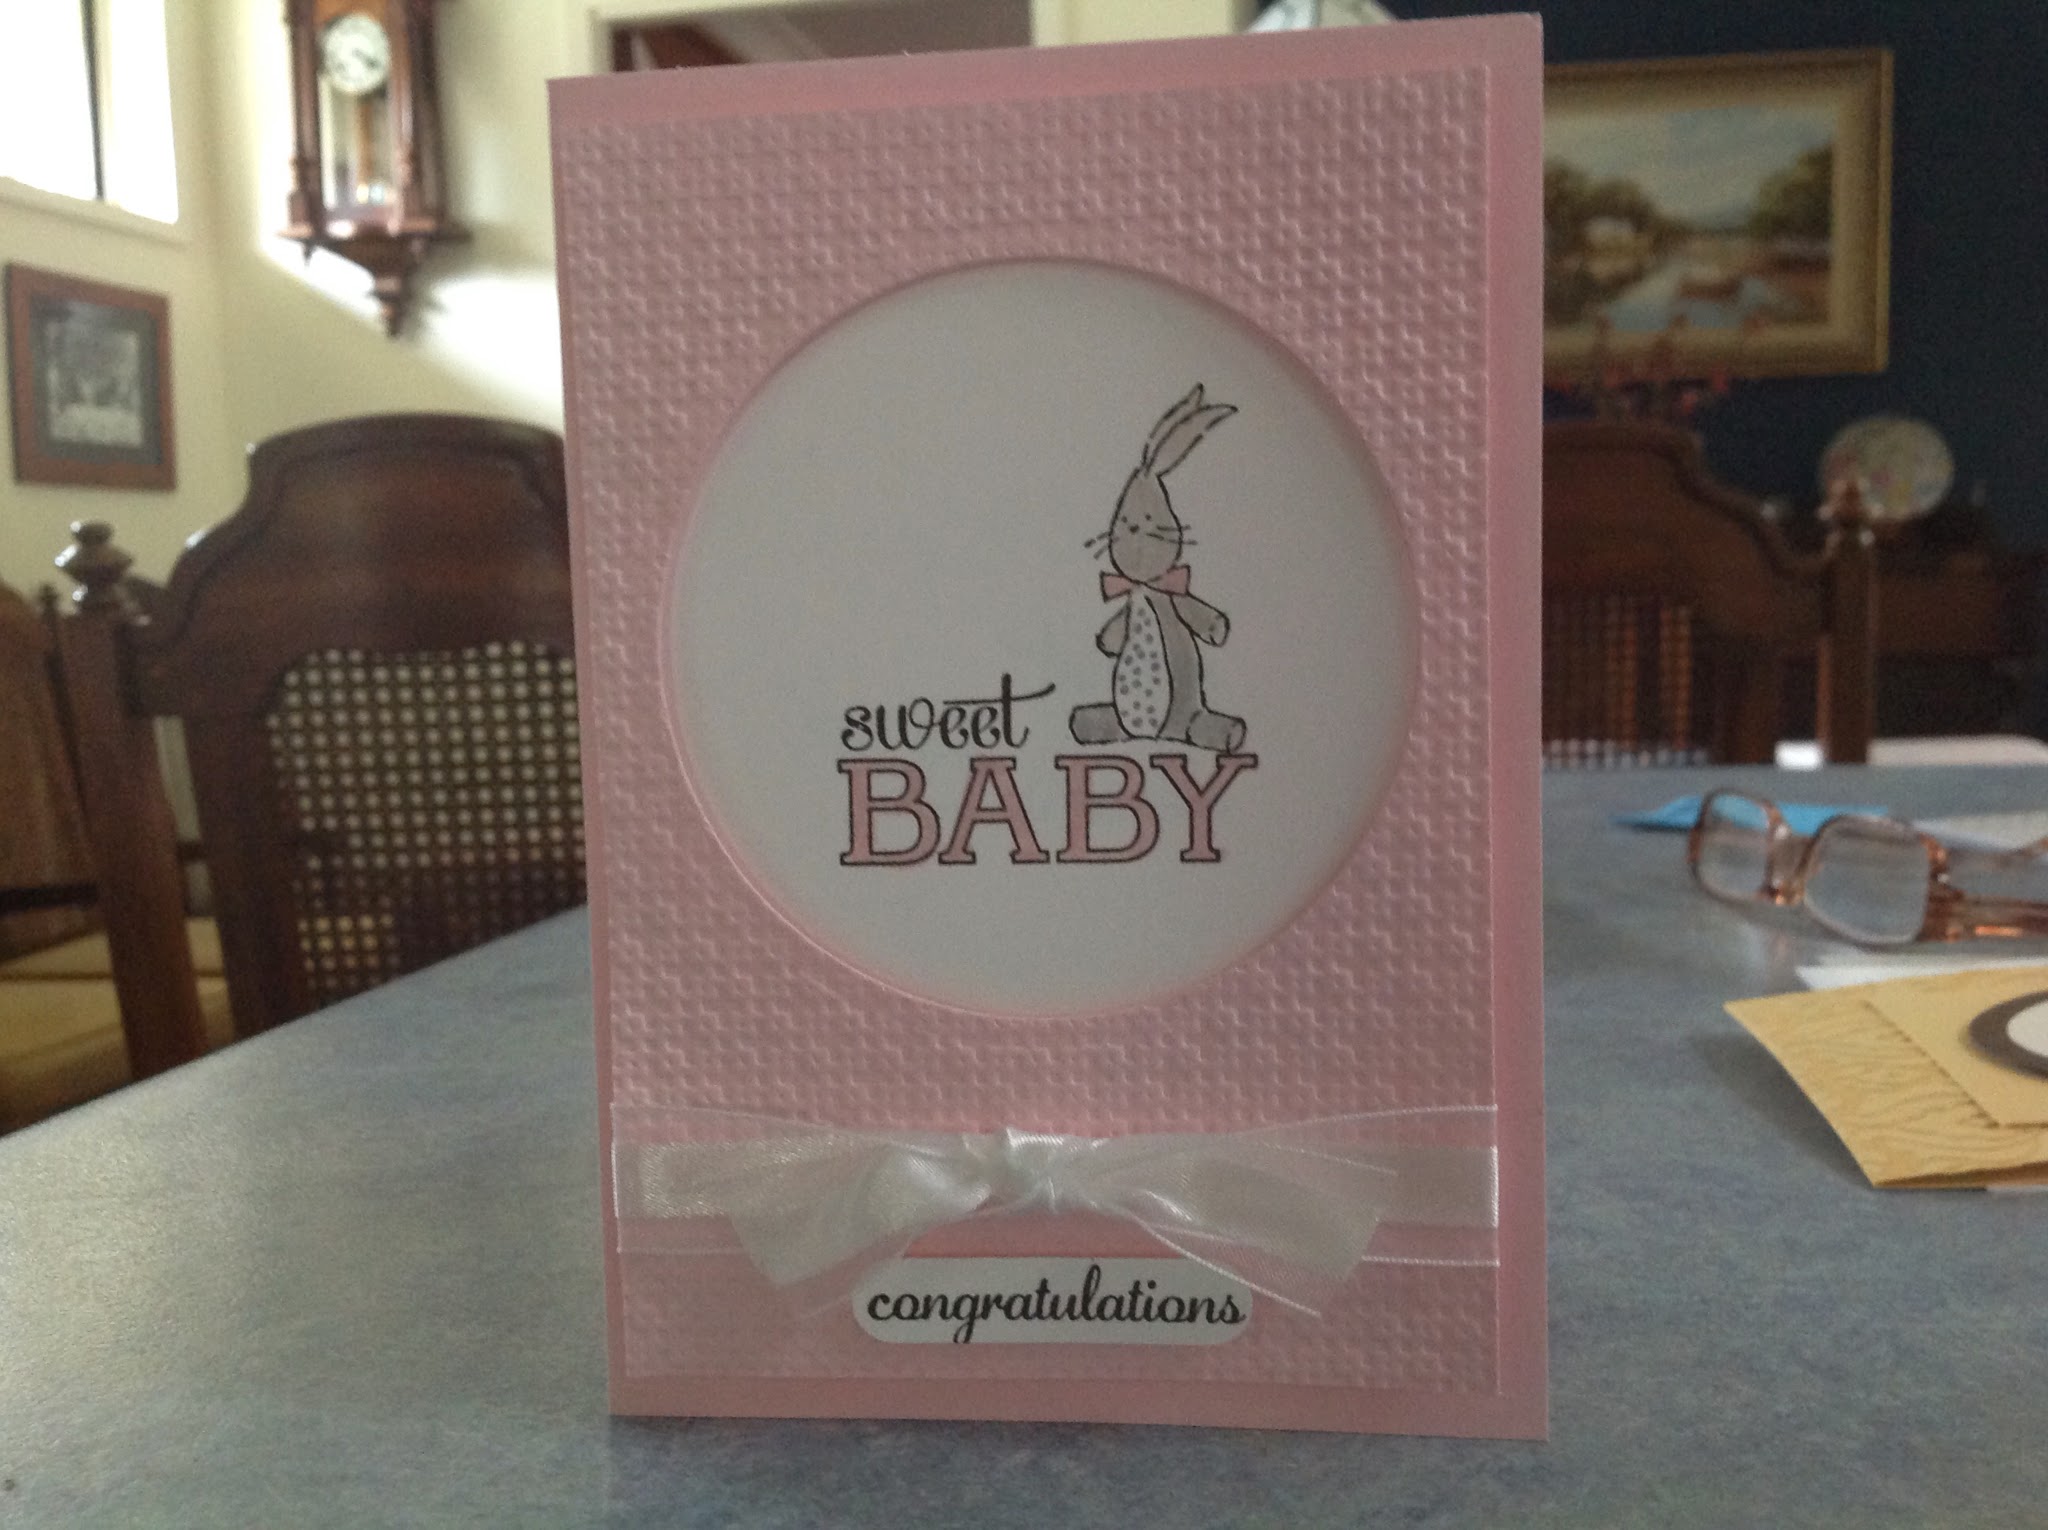
The 3 owls lend themselves to a spot of water colouring with an aqua painter and ink pad. Make sure you stamp the image in Stazon ink so it doesn't run when you use the aqua painter. The background is the Decorative Dots folder inked up with Crisp Canteloupe before running through the Bigshot. I used the Banner dies set for the banner in the front. I didn't want the sentiment on the owl stamp so I simply covered it with another sentiment cut with the Word Window punch.
To use the Stampin' Up pad for water colouring simply squeeze the pad gently whilst it is shut and when you open it there will be a pool of ink on the inside of the tray opposite to the ink pad.
Squeeze gently. It's easier if you use both hands. I did try taking the photo on my ipad with my nose but had to end up using one hand!

The resultant pool of ink in the tray. You can determine how dark it is by how much water you add to the ink with the aqua painter. If you are making it very wet you may be better off to use watercolour paper. I try to minimise the water as I don't really like the colour of the watercolour paper.
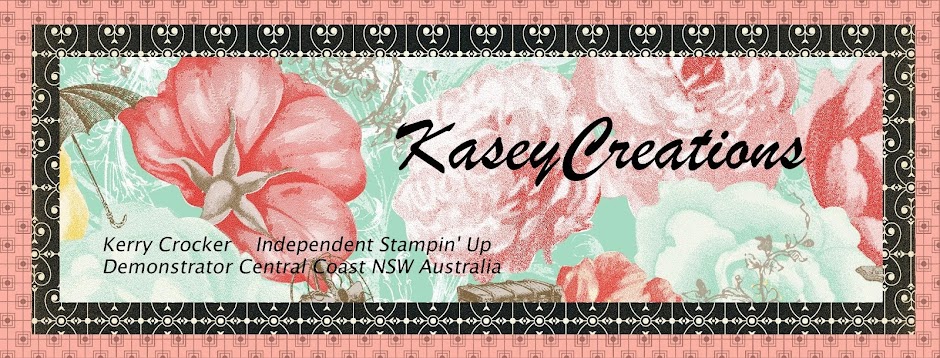
How sweet is the bunny? The Petals a Plenty embossing folder is still a favourite. This time I coloured in the little dots in the centre with a Pink Pirouette marker. I used this also to colour in the Sweet baby sentiment. The pink scallop piece is done with the largest scallop punch.
Another stamp from this set. Love the little boy shoes. Here I teamed Soft Sky and Midnight Muse and used the Mosaic embossing folder. I punched a circle in the mosaic layer and lined up a square of white card underneath. I pencilled in the circle lightly to make sure that I stamped within the lines then rubbed it out afterwards. The Moasaic panel is attached with dimensionals to give the little shoes some depth.
I used one of the dies in the Circles Framelit dies collection to cut the opening in a panel of card embossed with the Lattice embossing folder. This was attached with dimensionals over the square of white card which was stamped and water coloured.
The So Saffron card base was ink embossed with Beautiful Baroque embossing folder. The image was stamped with Early Expresso, cut with a die from the Ovals Collection and matted with a larger oval diecut.
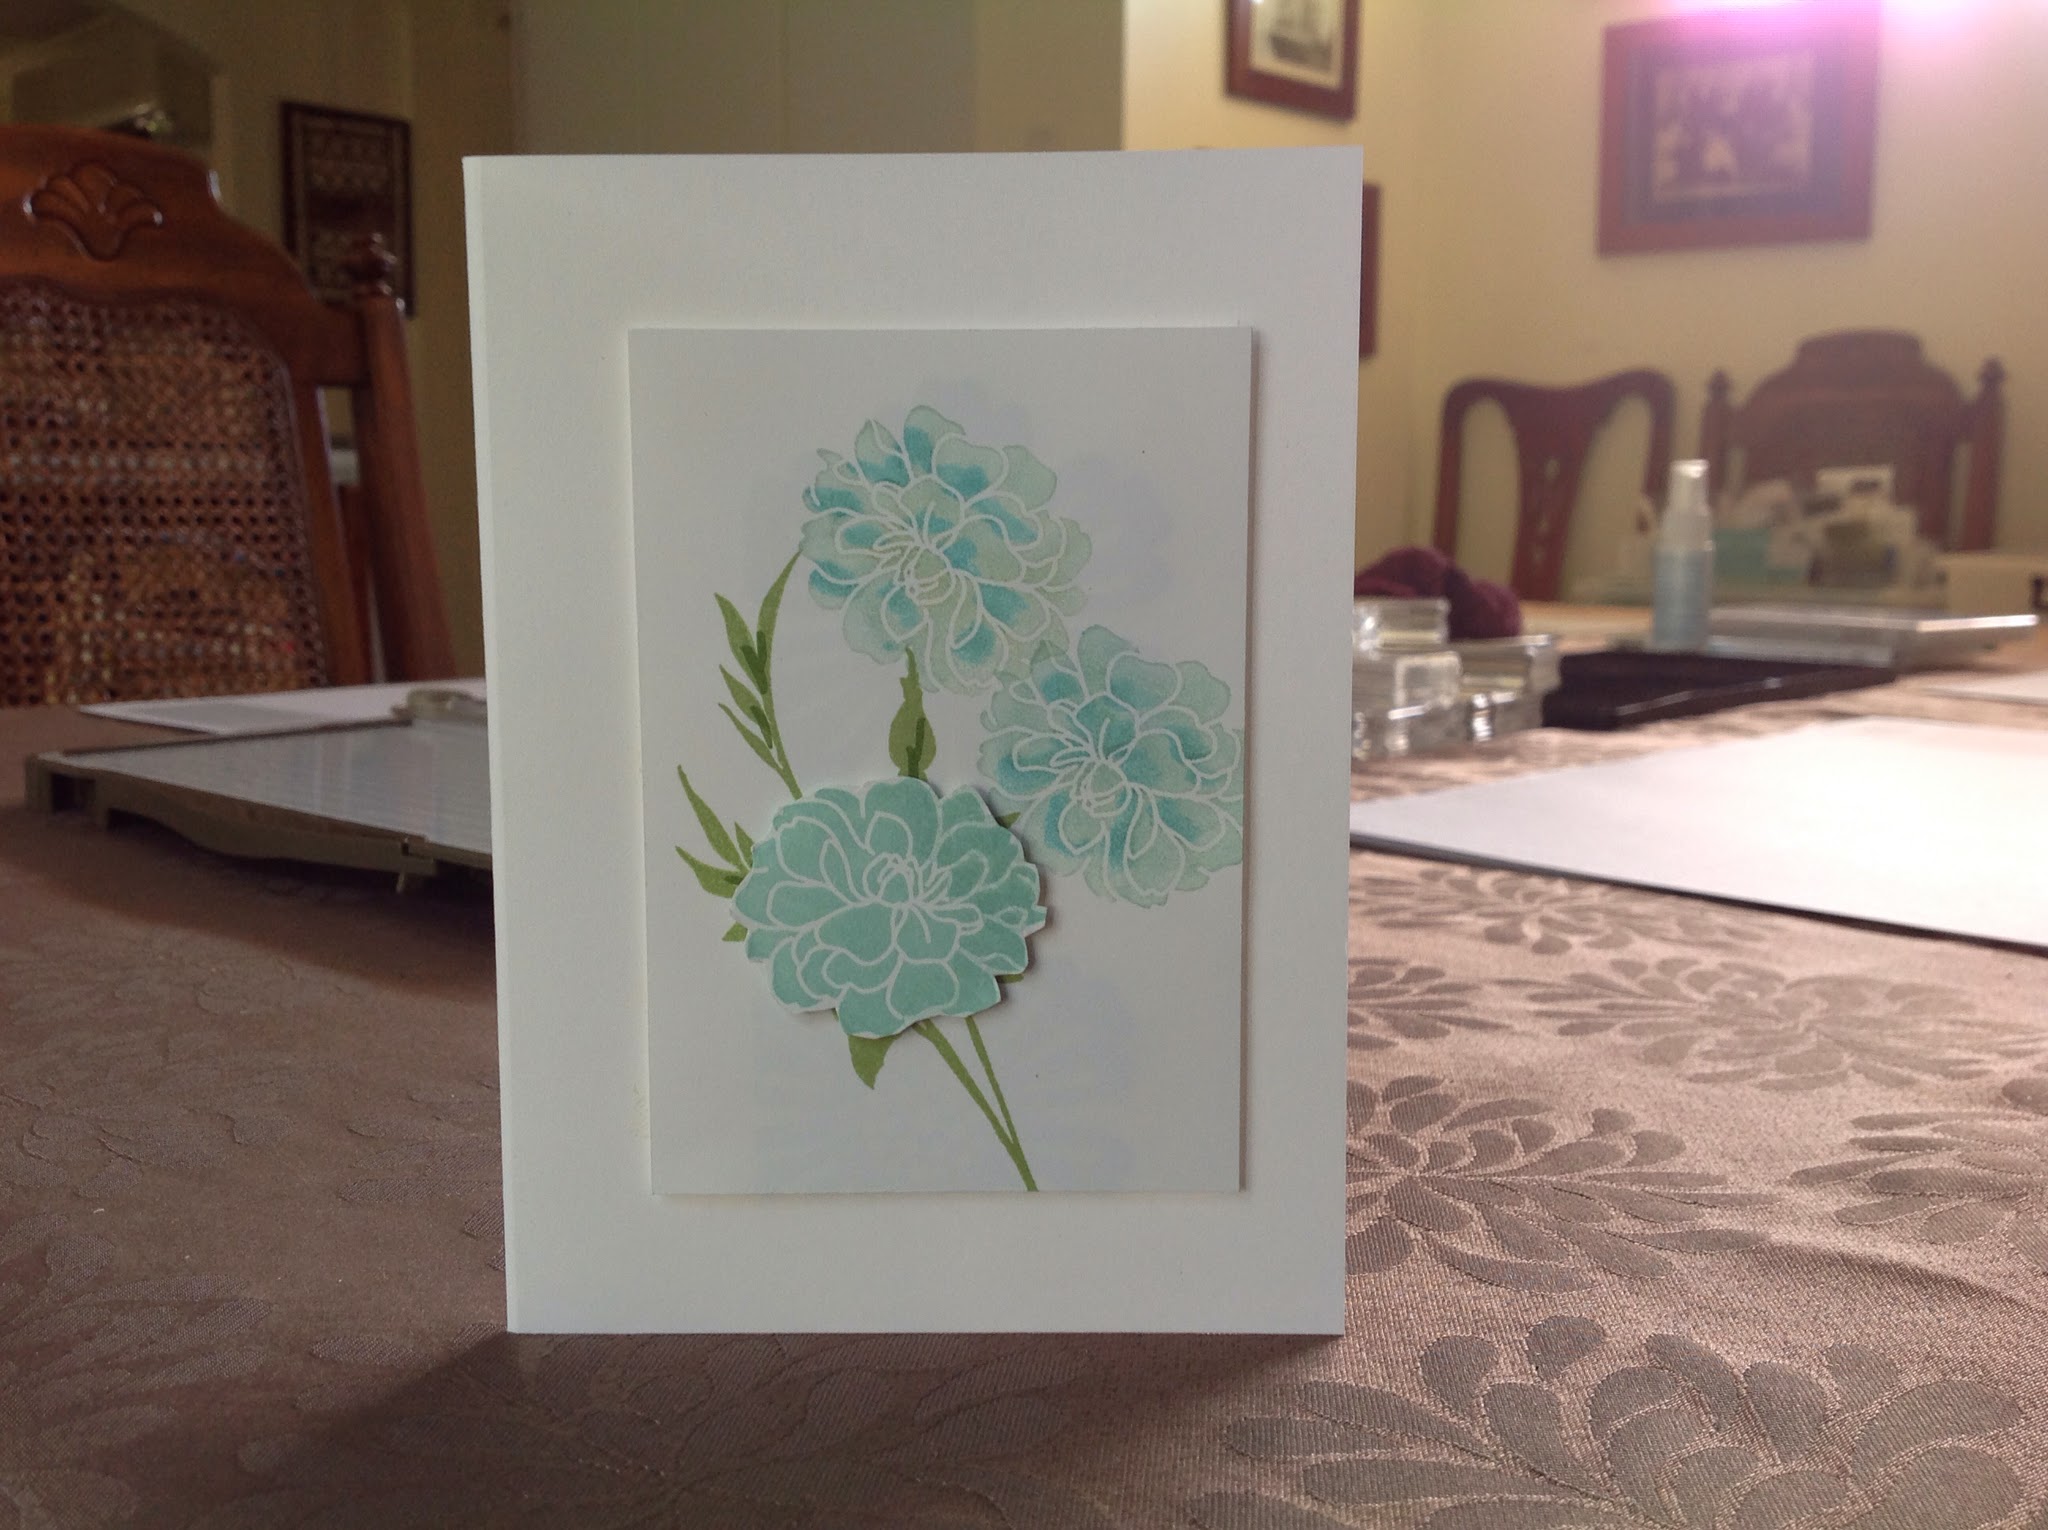
One of my favourites again-white on white. The image again is water coloured with Stampin ' Up ink. The sentiment is coloured with a Crisp Canteloupe marker. The ribbon is Soft Suede Seam binding. I covered the sentiment this time with a post it note when I was inking it up so it wouldn't stamp. The image was cut with an oval die from the Ovals framelit collection and then attached to a panel embossed with the Decorative dots folder.
Crumb Cake makes a nice change for a baby card? I cut another circle in Strawberry Slush and cut off the bottom section and stuck it over the lower third of the image to cover the sentiment. I think the added colour looks good.
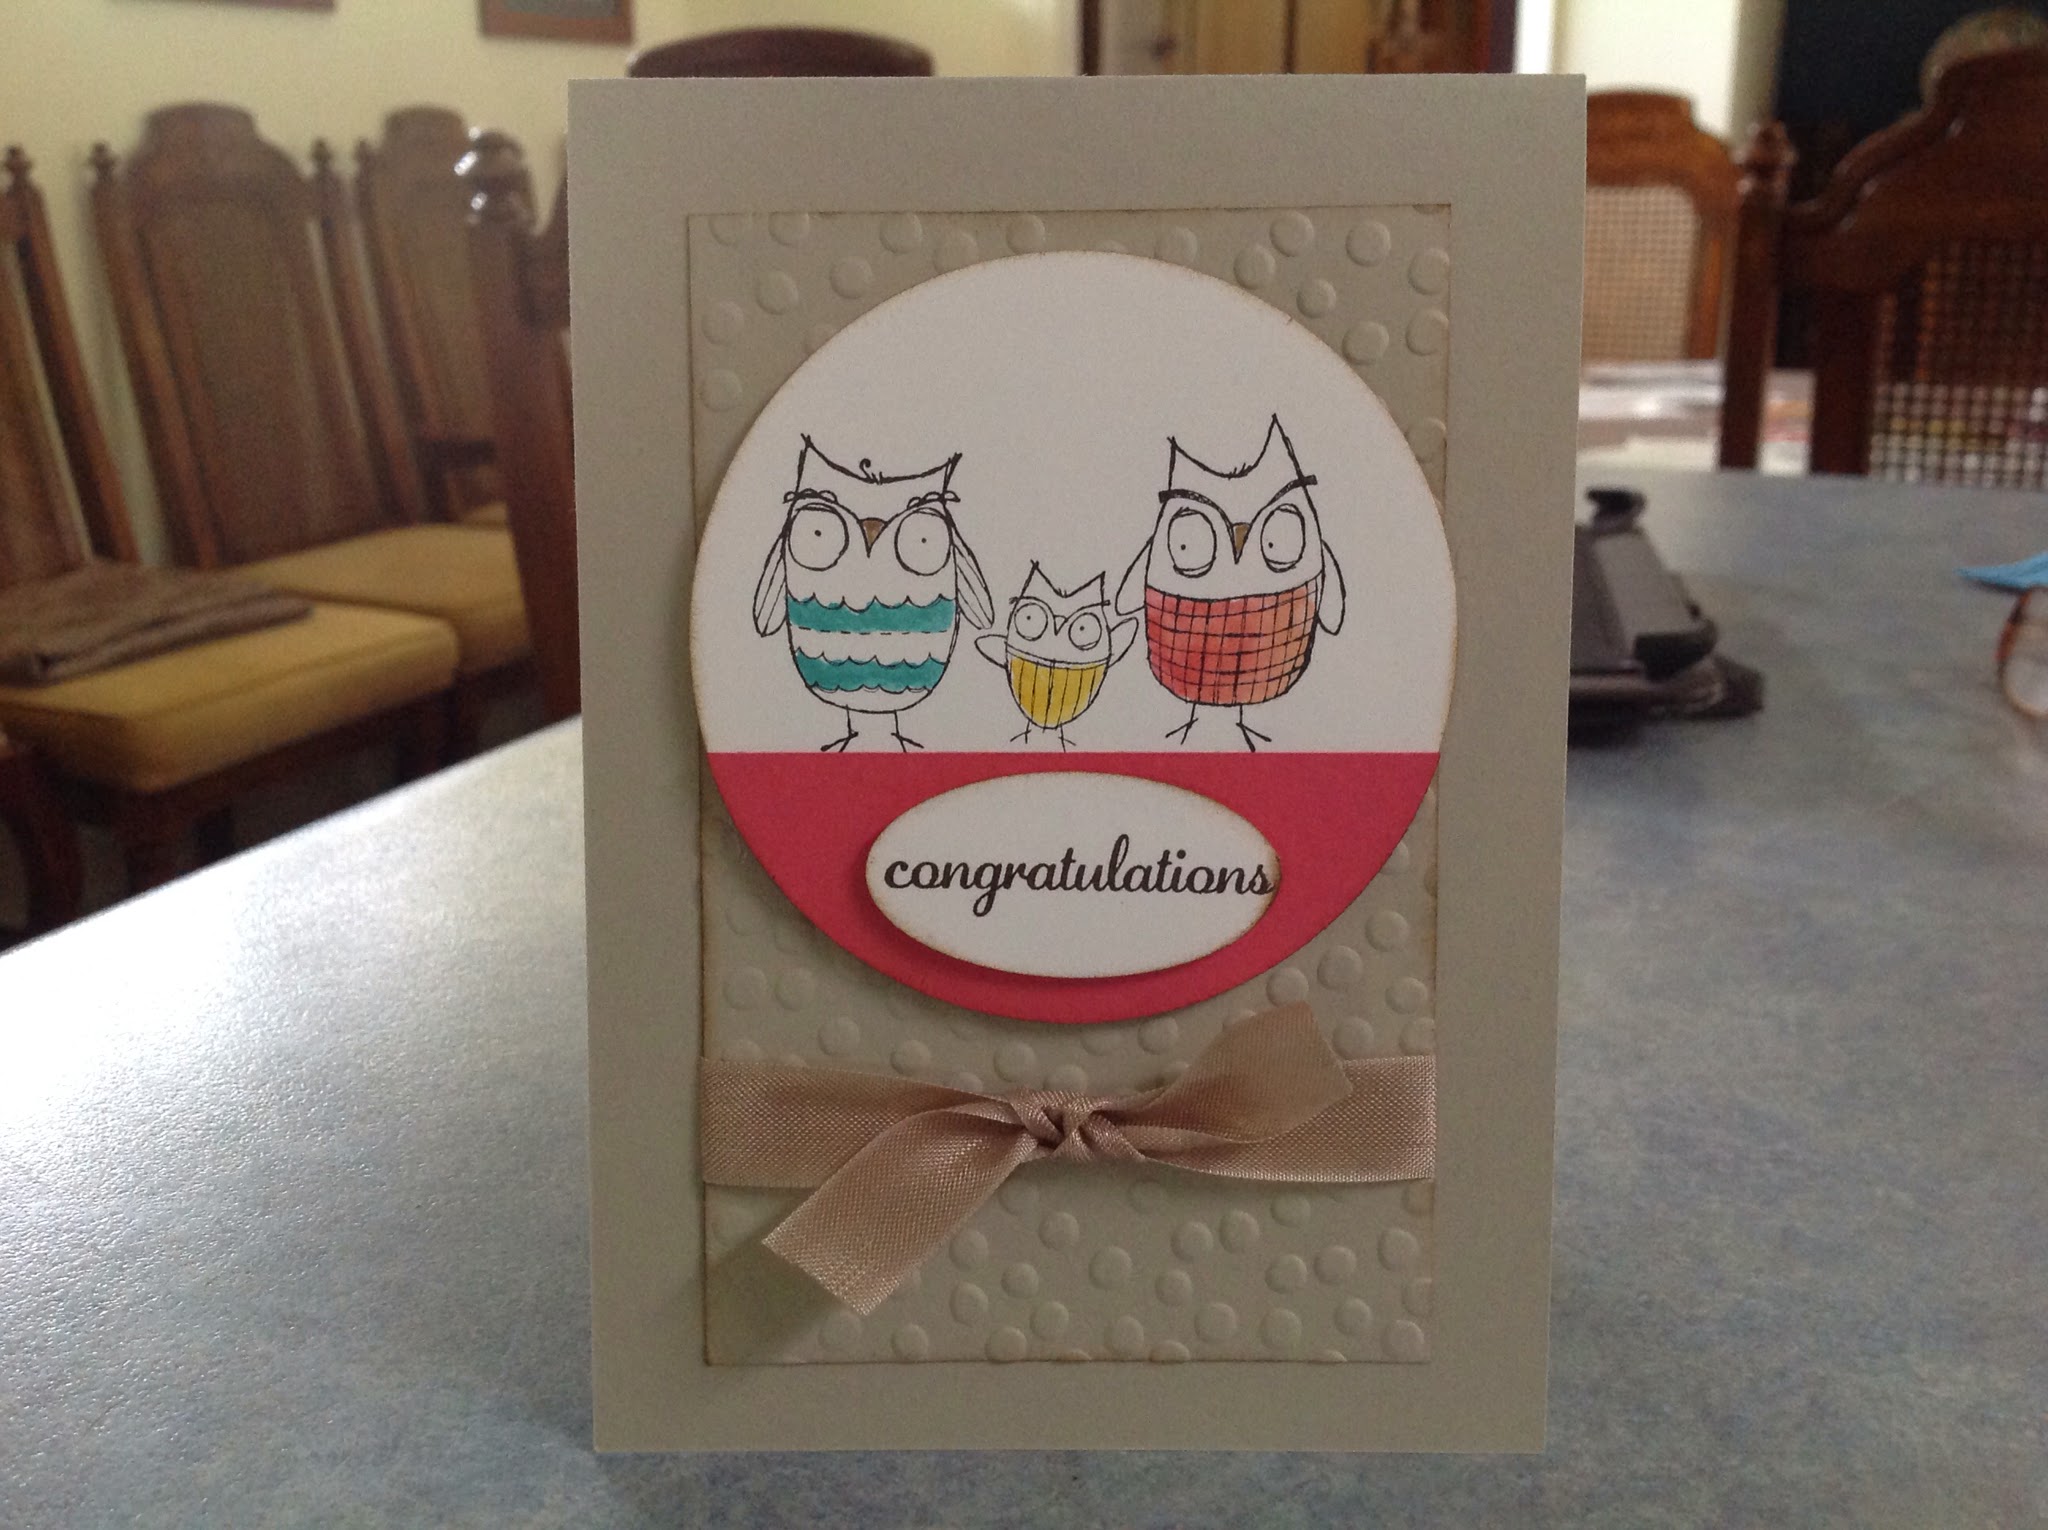
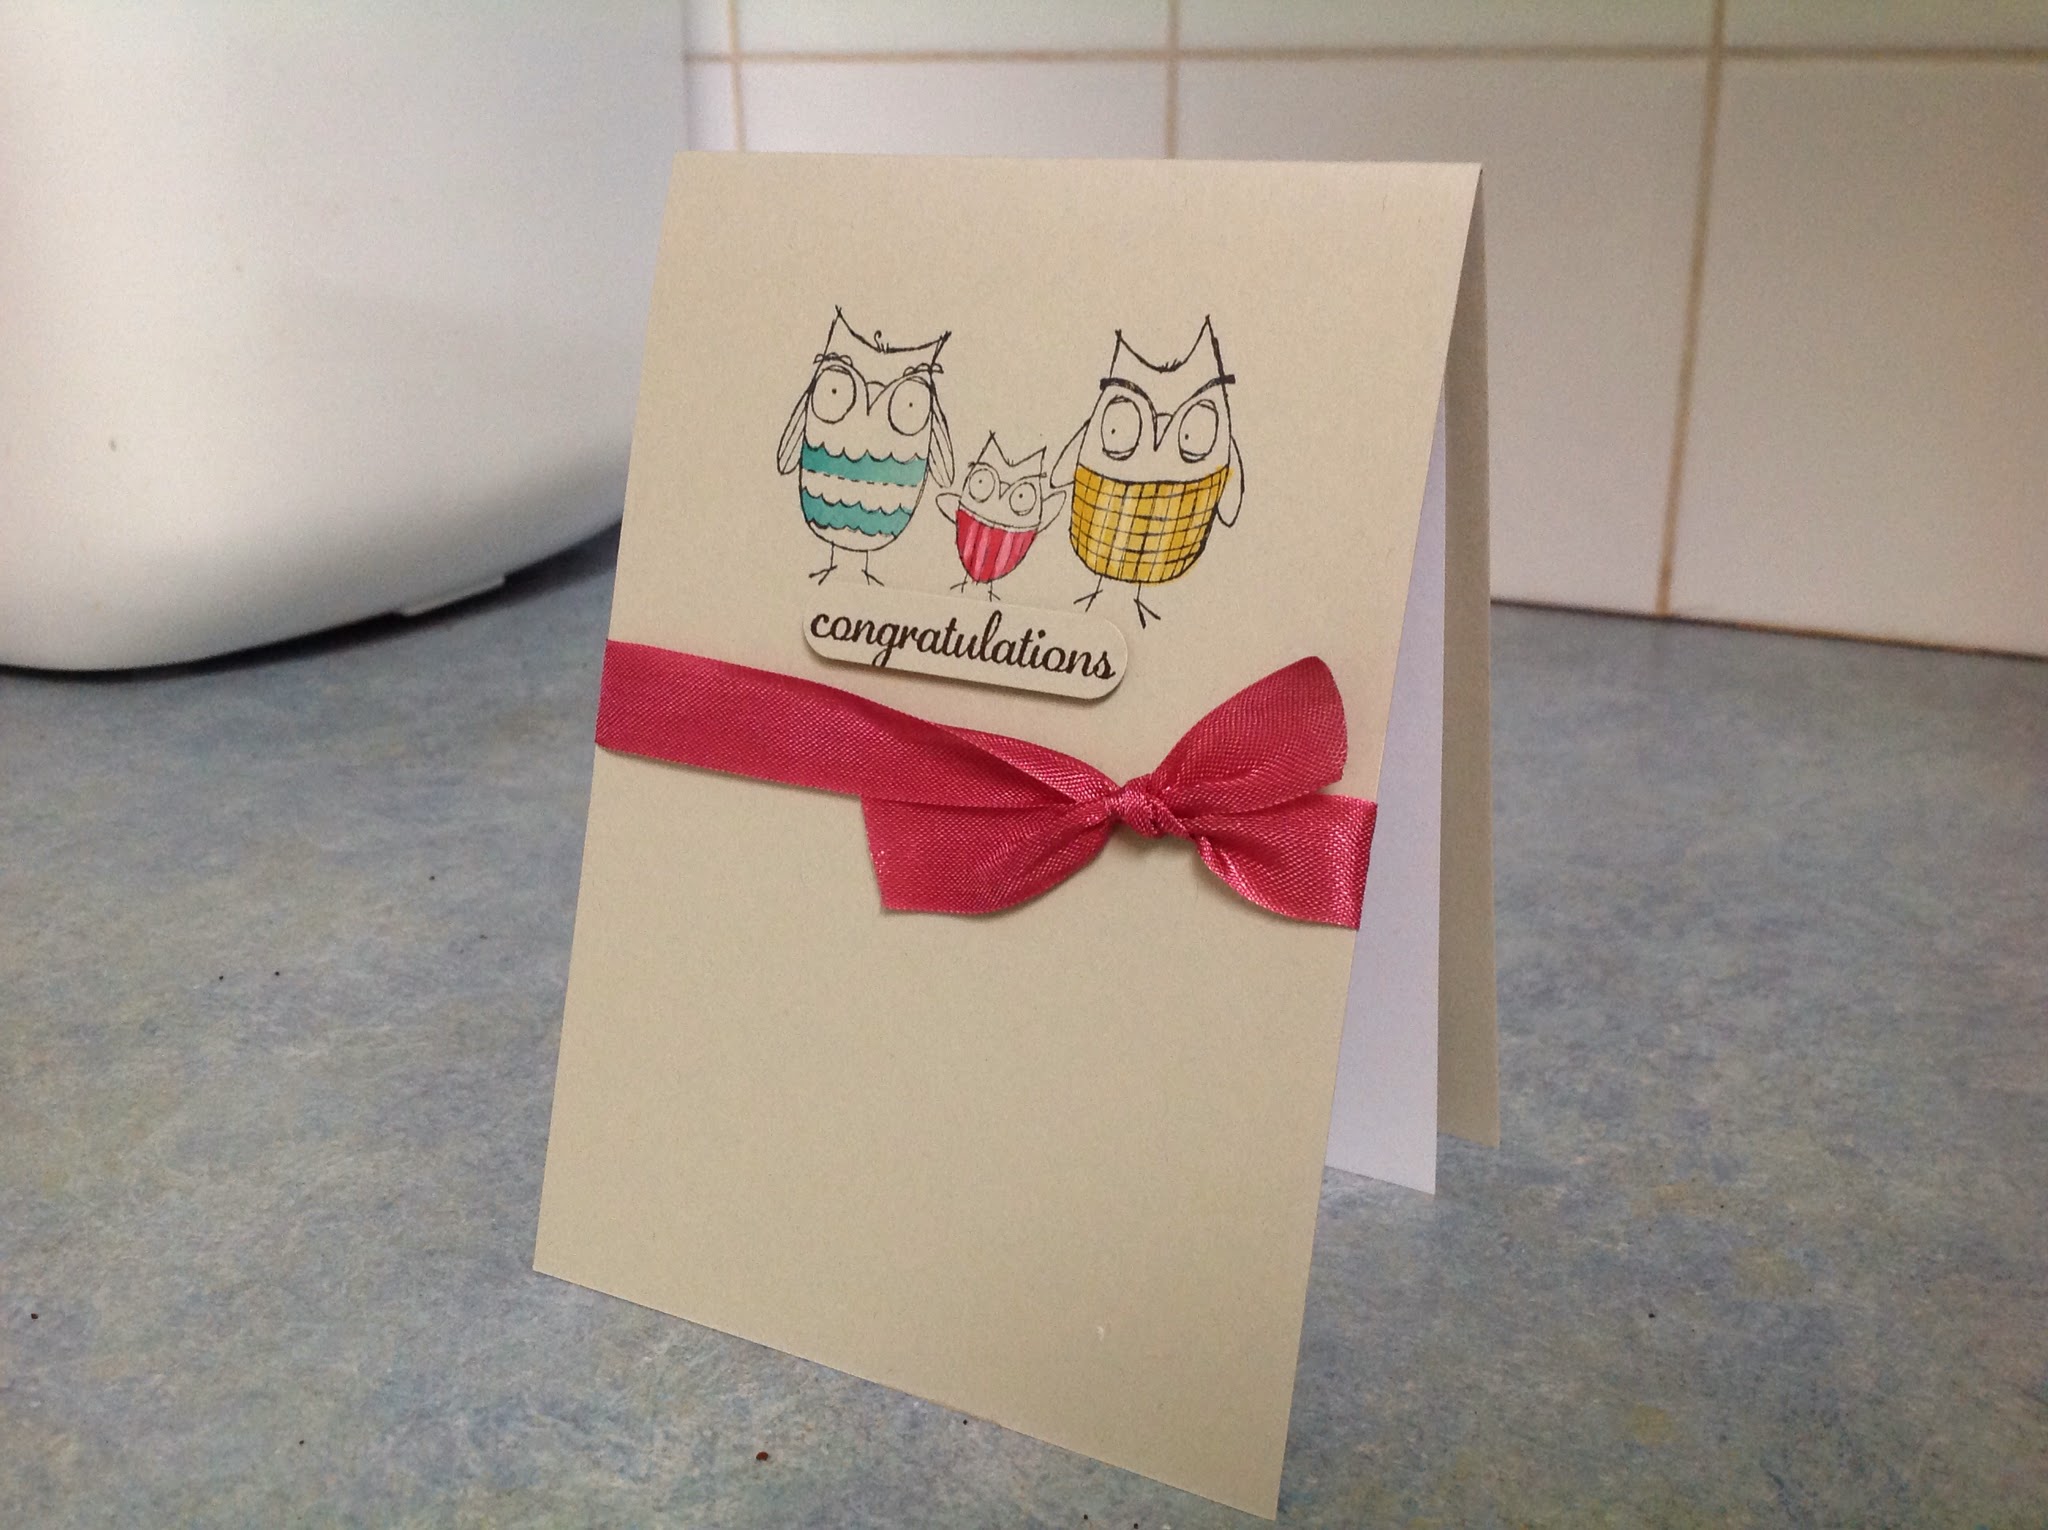
Single layer card this time. A very fast card. Water colouring again and some Rose Red seam binding and the card was finished.
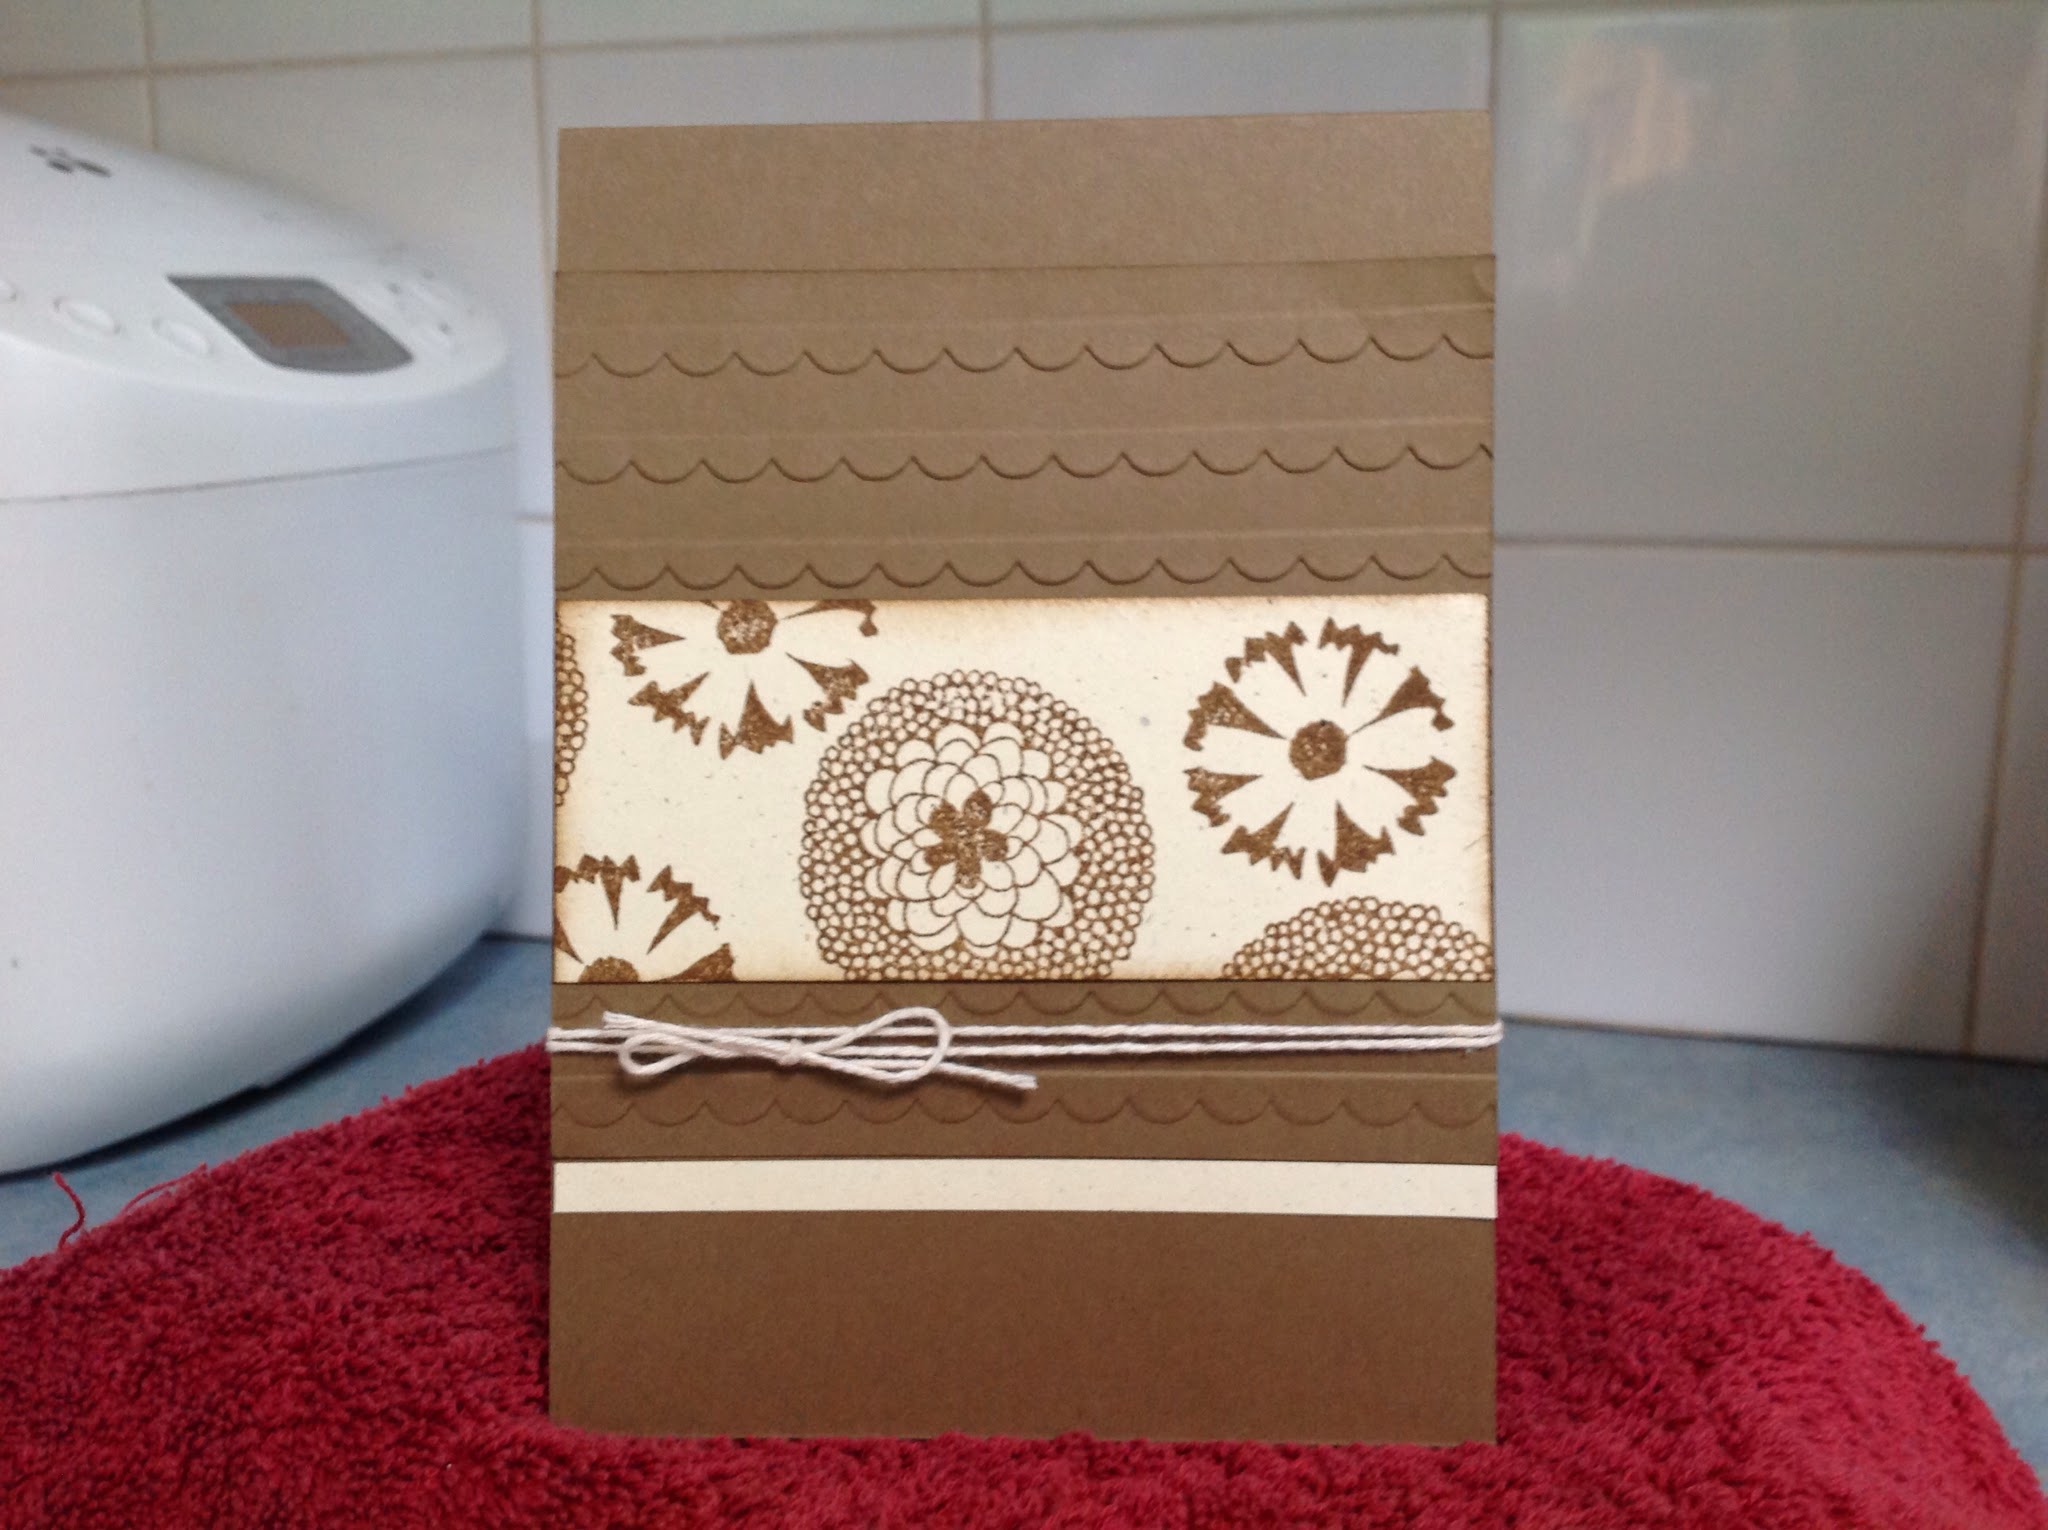
I like running this type of card through the big shot with an embossing folder that covers the middle section of the card. This time I used the Mosaics folder. The cardstock is Sahara Sand and it goes beautifully with Crisp Canteoupe and Coastal Cabana. I cut the Coastal Cabana with the scallop punch and glued it to the front of the card. I then used a circle die from the circles collection to cut through both the scallop and the front of the card. I lined the inside of the card with a panel of Whisper White cardstock and pencilled in lightly the circle so I could centre the stamp. The flowers were punched with the Petite Petal punch and one of the punches from the Itty Bitty Shapes Punch Pack.
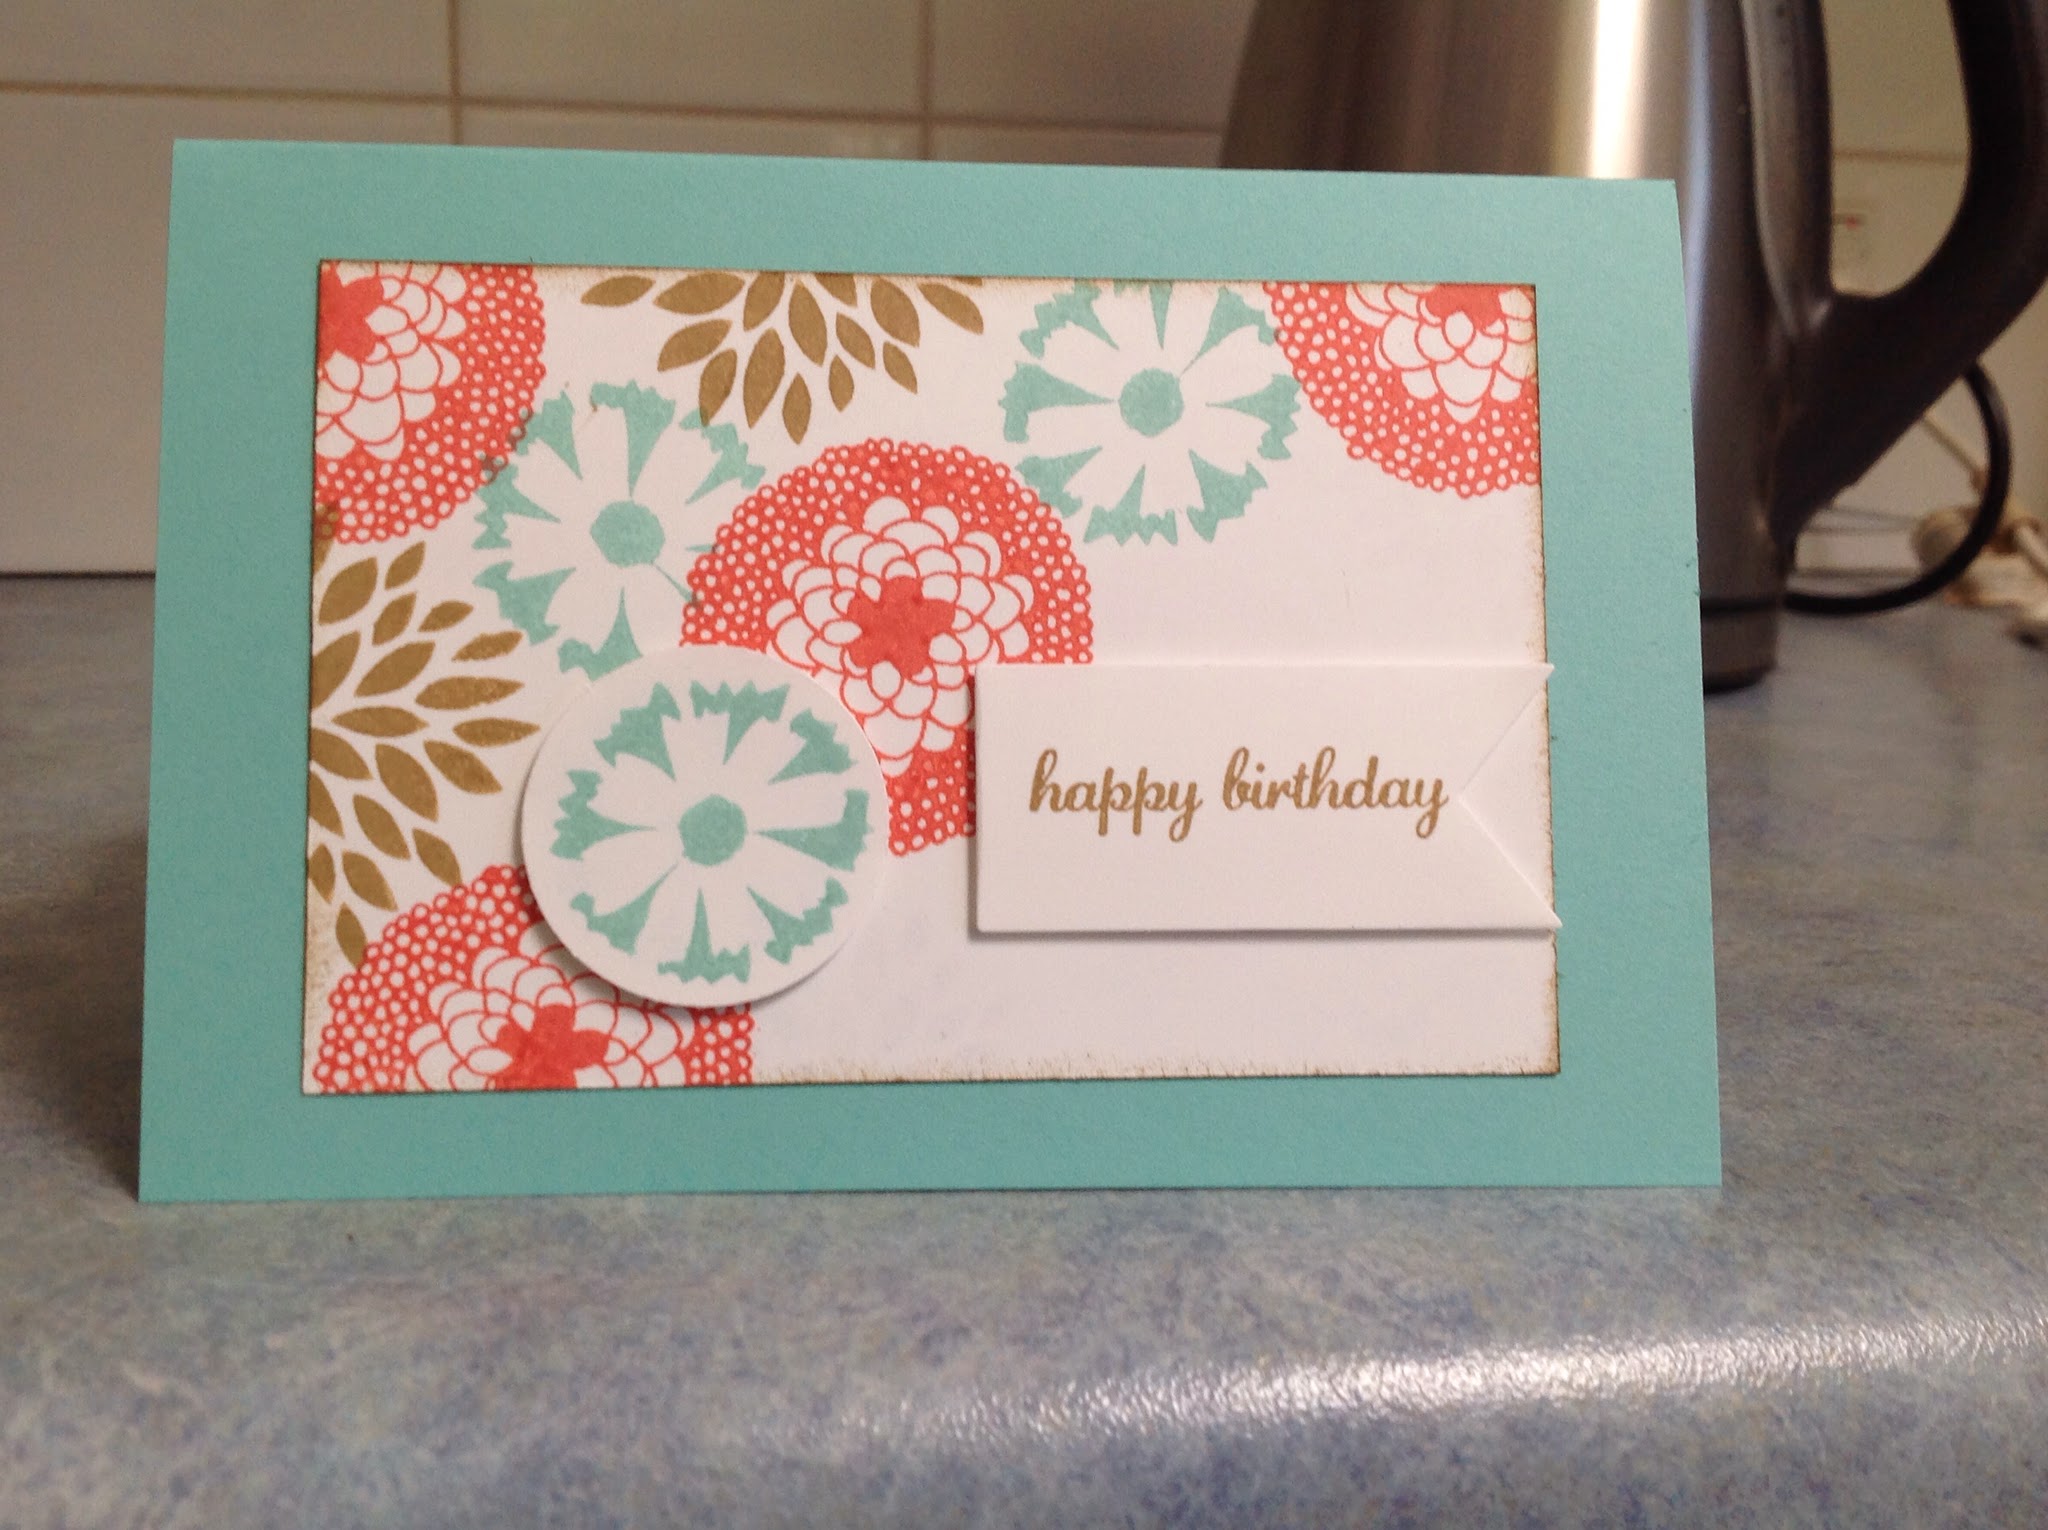
Another variation of the above card. Sahara sand again for the card base but this time I used the new Scallops embossing folder. Same technique with the scalloped window.
I cased this card from http://craft-somniamomma.blogspot.de/2014/02/sweet-subtle-baby.html?m=1
The sentiment stamp and one of the smaller stamps look great clustered together I think. Again remember to stamp them in Stazon ink if you are planning to watercolour them with the Aqua painter. I used a diluted baked Brown Sugar for the bunny and Pistachio Pudding marker for the Baby stamp. The little banners were stamped with the free SAB set banner blast and cut out with the corresponding banner punch. Colours used were Soft Sky and Pistachio Pudding. I haven't used this combo before but loved it here.
The little banners were glued to a narrow piece of white card and the Pistachio Pudding Ruffled Stretch Trim was attached to it with the raw edges glued behind. I used a little string around it to soften the lines a little.
This is definitely a great set to use for those baby cards you need to send.
Don't forget only a few days more of the Sale-A-Bration promotion.
Have fun stamping!