
My latest Stampin Up' toy is the new Spiral Flower die. It is simple to use and every flower you make with it comes out a little different. You can vary the size by winding it tighter or more loosely. There are lots of instructions of the net on how to use it.

Step 1. Run the die through the Bigshot

Use your bone folder to break up the fibres if you are using cardstock to make it more flexible. I find it less likely to tear if I lay it on my thigh when I do this. Alternatively you can spritz it with water and scrunch up.

I use a pair of tweezers to roll it up from the narrow end. You could just wind it around a pencil or such. Experiment to see the different sizes that occur with different degrees of tightness in rolling. The round bit at the end is the base so apply adhesive either with a hot glue gun or strong adhesive.

I find it easier once it is rolled to turn it over as it is easier to see the best alignment before sticking. Work out the best method for you.


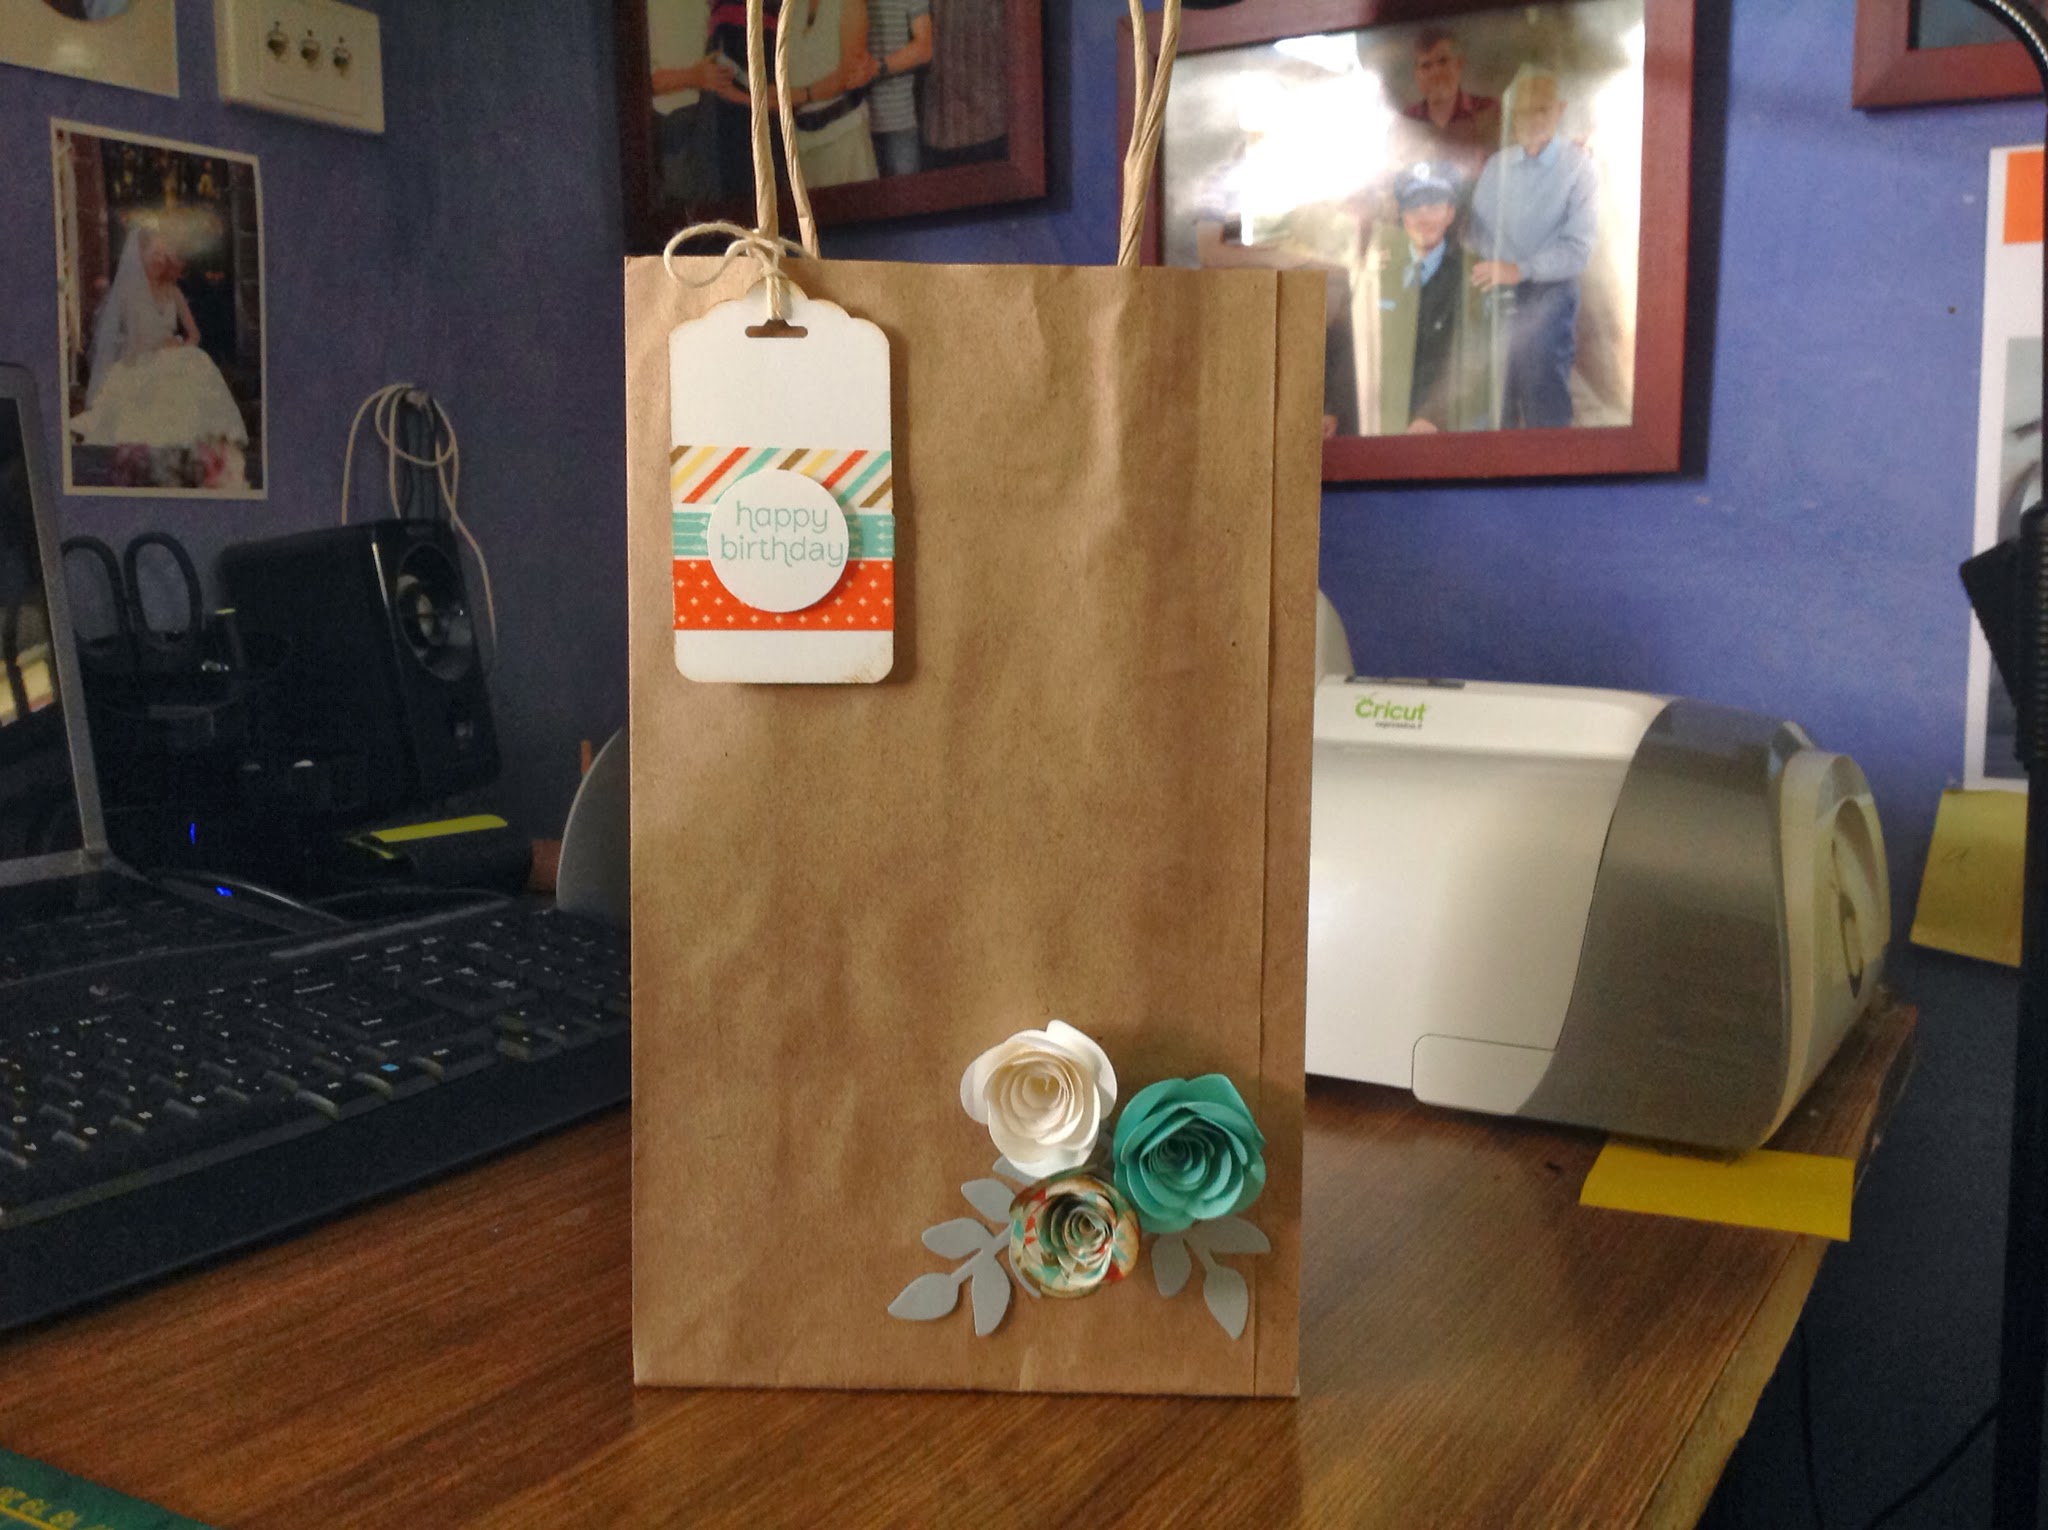
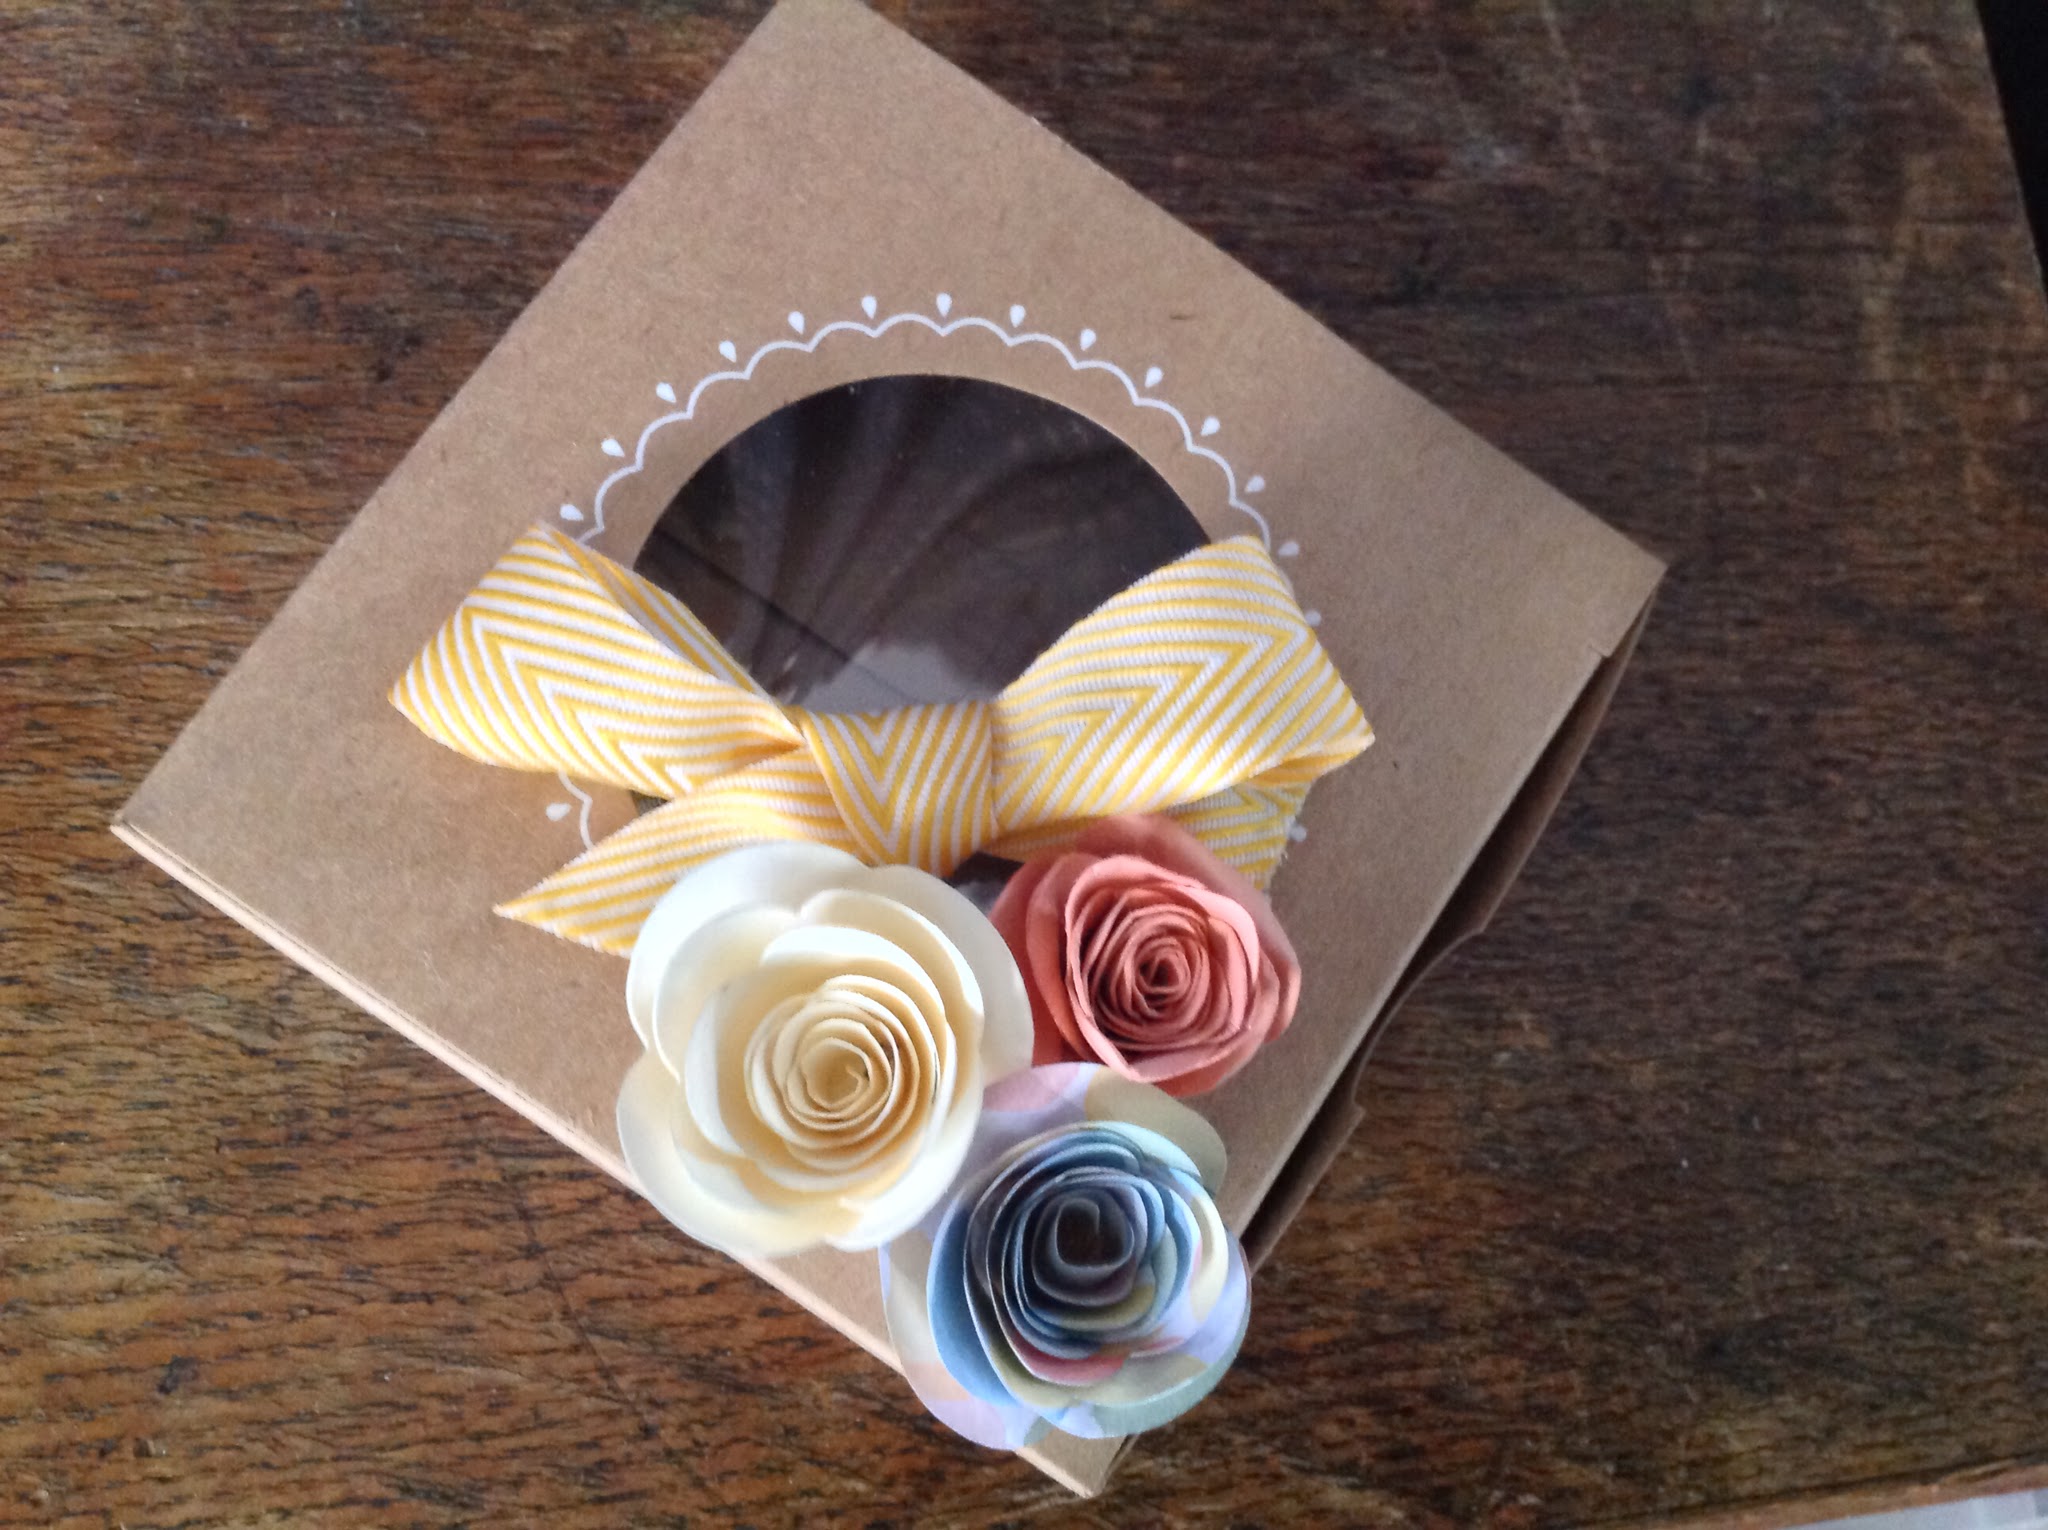
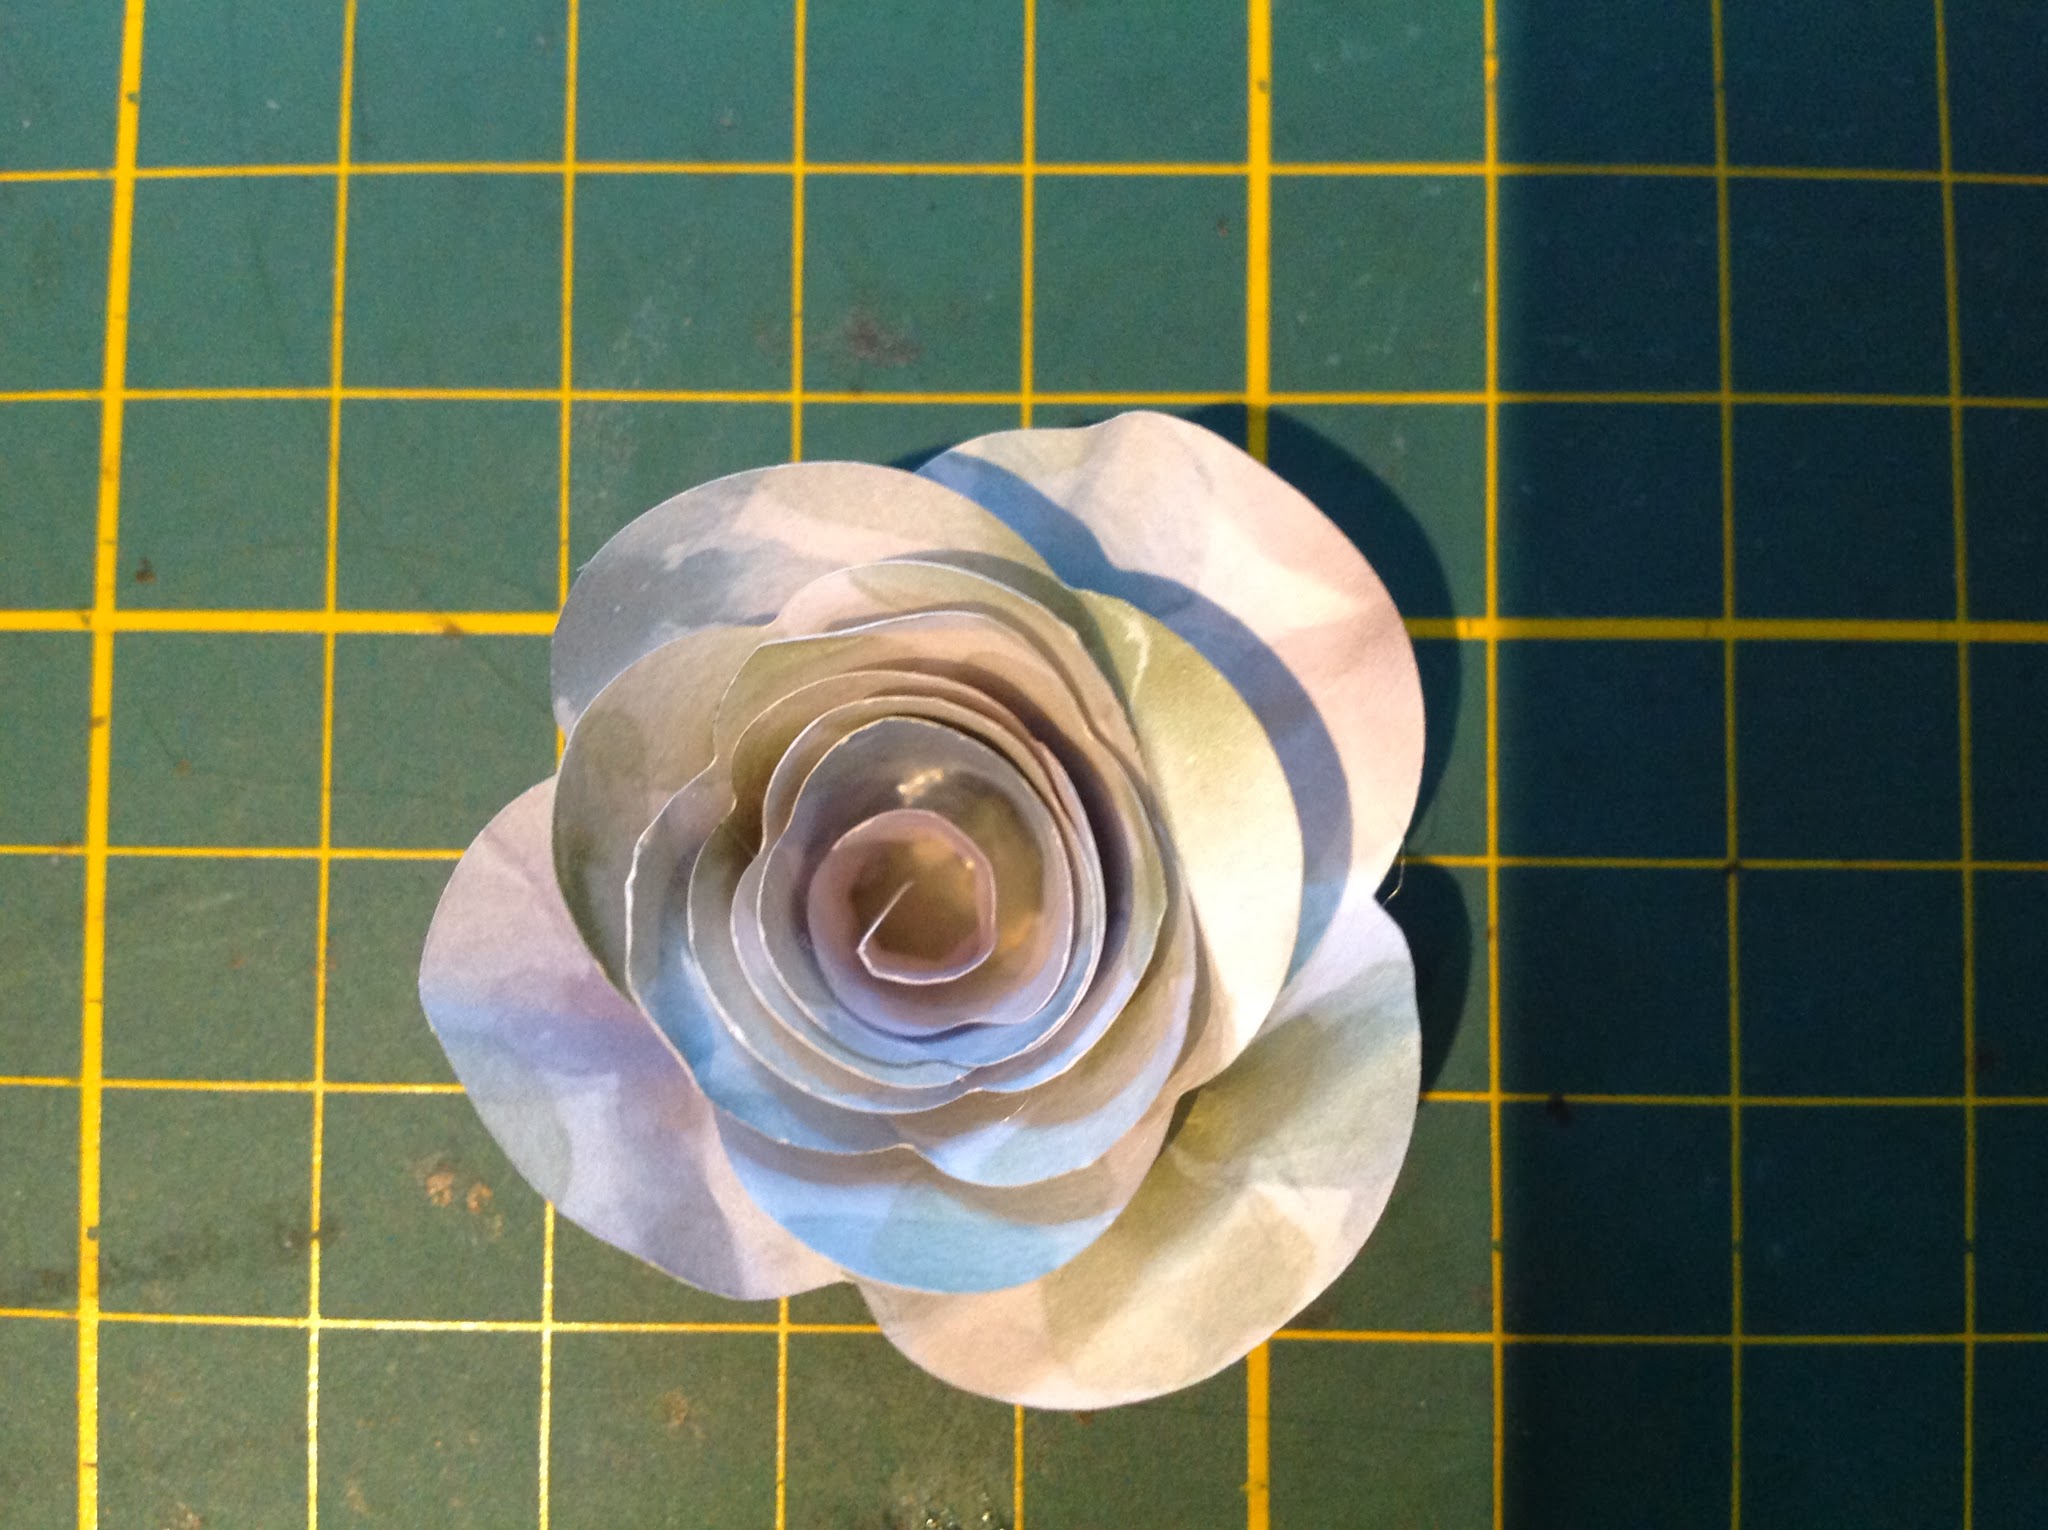
In this one I curled back the outer petals to make it look more natural. Have a fiddle until it looks good. At this point you can dip the whole thing in an ink pad to colour the edges.

Jewel in the middle

Using Retrofresh Designer paper
There are some great videos on how to make these flowers.
This one is a good basic one and there are a lot more on the net that show different variations of the flower. Have fun!